
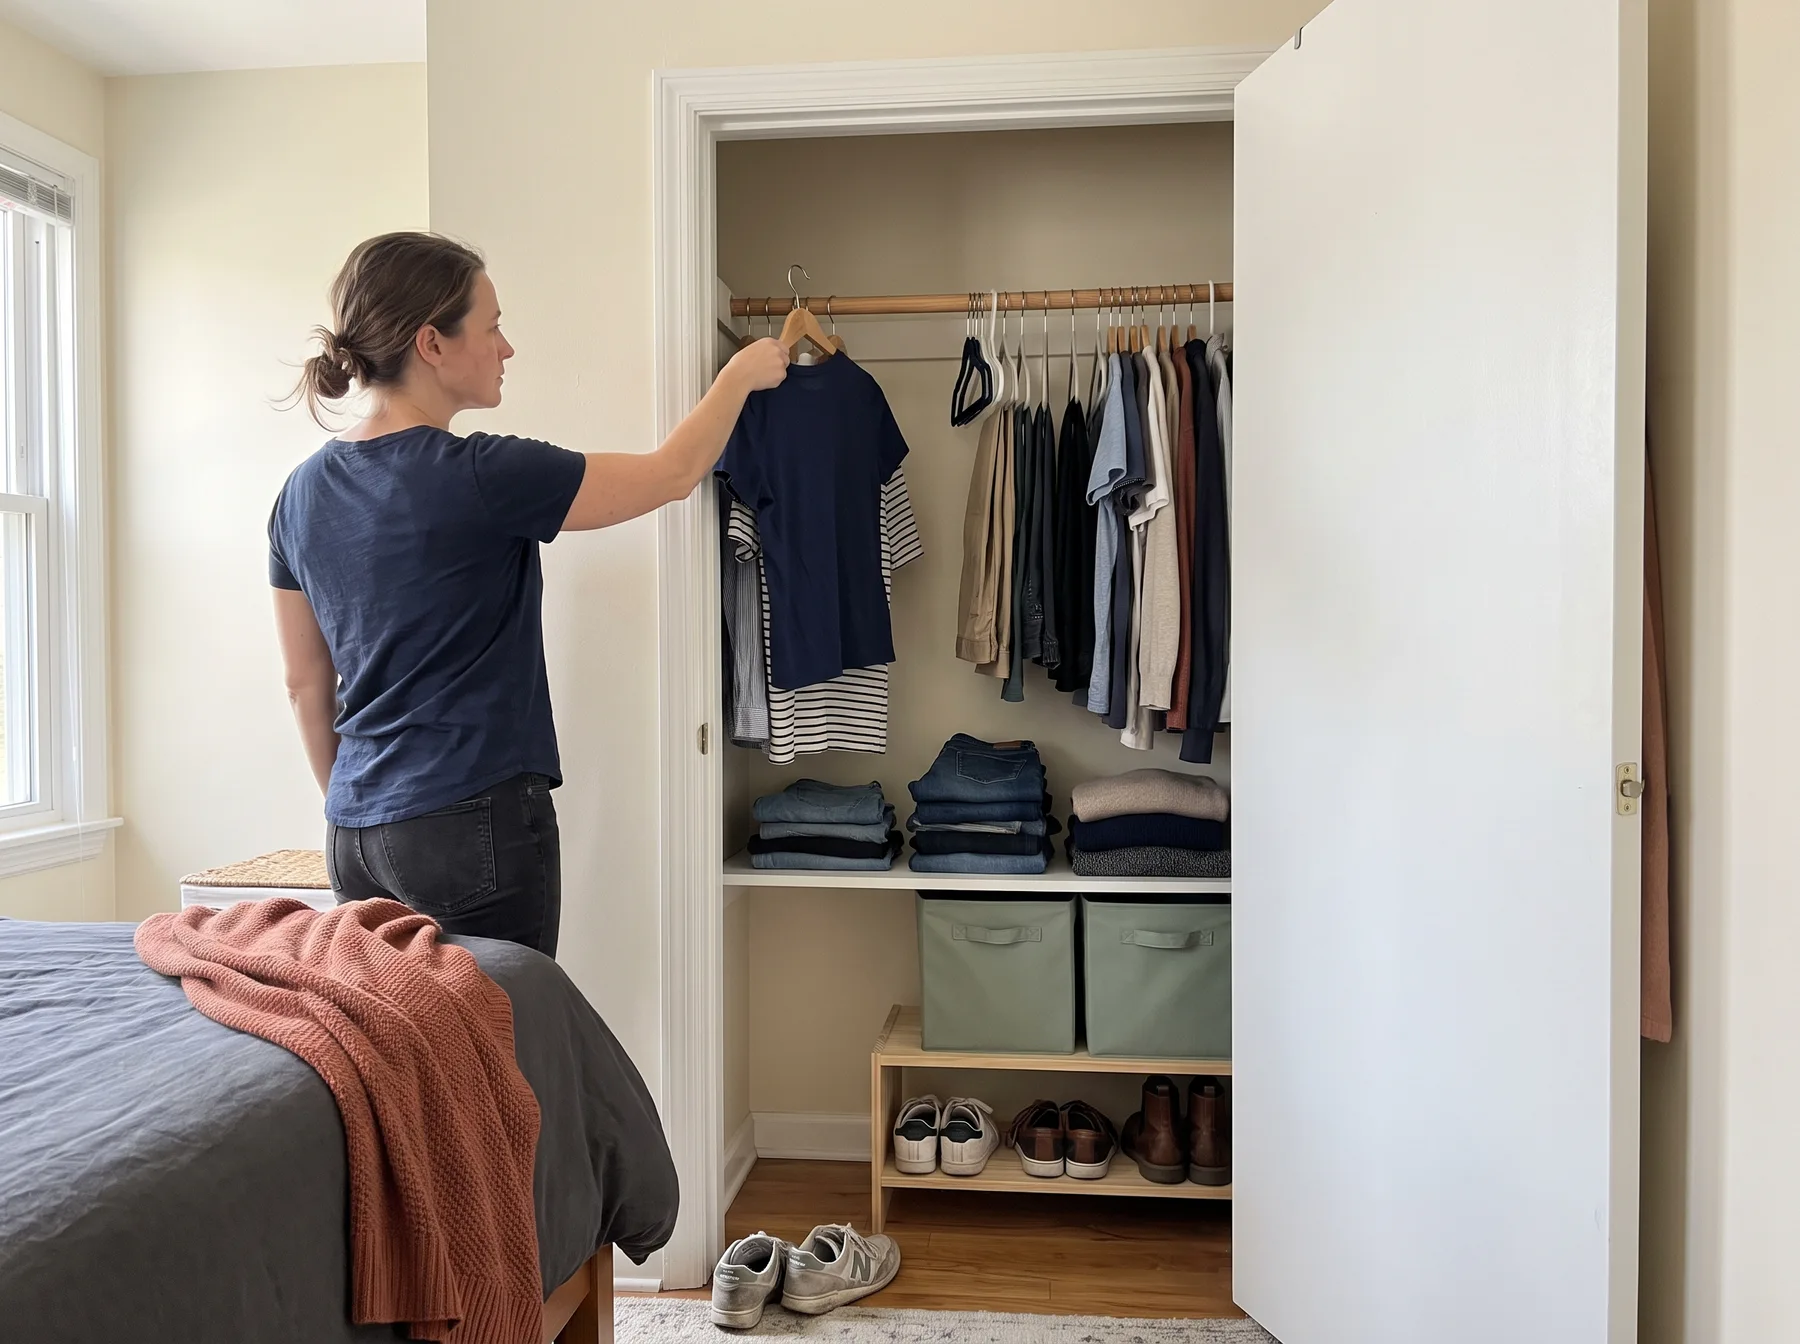
Effective small closet organization starts with fit, not storage products. Measure the usable space, compare it with what you need to store, and give the easiest-to-reach areas to the clothes you use most. Only then should you add shelves, bins, hooks, or hanging organizers.
This fit-first approach helps you avoid a common small-closet problem: buying organizers that technically fit inside the closet but leave too little room for clothes, block the door, or make everyday items harder to reach.
Define what the closet needs to do
A small closet cannot serve every possible storage purpose equally well. Before emptying it, decide on its main job.
A bedroom closet might need to hold daily clothing, shoes, accessories, spare bedding, luggage, and off-season coats. That list may be larger than the closet can reasonably support. Rank the categories instead of trying to squeeze all of them into the same footprint.
Start with these questions:
- Which items do you use at least once a week?
- Which clothes must hang rather than fold?
- Which categories could move to a dresser, under-bed container, entry closet, or high shelf?
- Do two people share the closet?
- Does the closet also contain electrical panels, plumbing access, ventilation, or other features that must remain clear?
If two people use the space, divide it deliberately rather than letting one person take the most accessible areas by default. A shared setup may use equal widths, separate shelves, or space based on each person's actual clothing volume. Our guide to organizing a small closet for two people explains how to make that division practical and fair.
Measure before choosing organizers
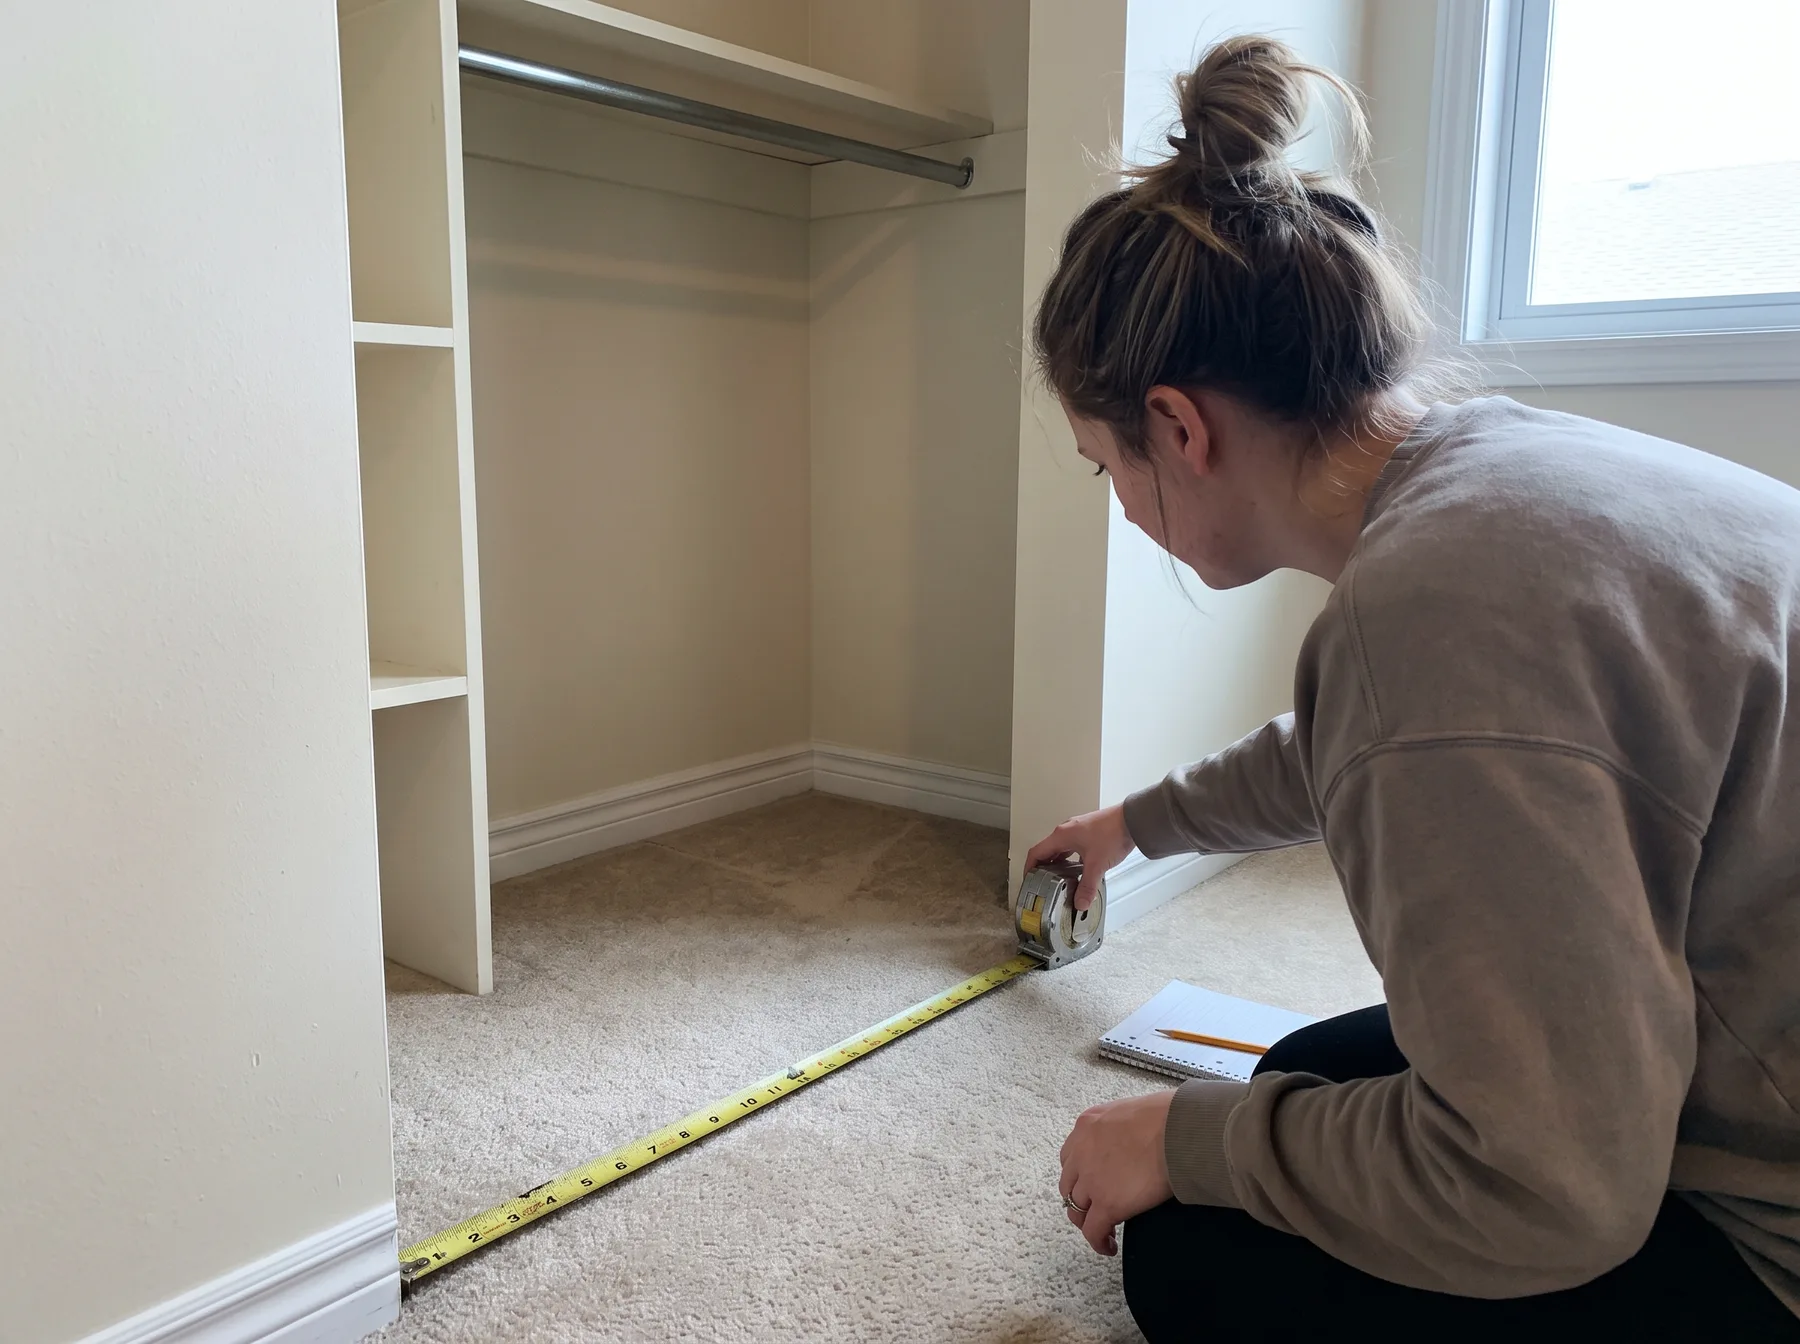
Measure the empty closet if possible. Clothing and existing bins can conceal baseboards, supports, sloped walls, and other obstacles.
Record these dimensions:
- Interior width at the front, middle, and back
- Interior depth on both sides
- Floor-to-ceiling height
- Height and depth of each fixed shelf
- Closet rod length and distance from the shelf above it
- Distance from the rod to the floor
- Door opening width and height
- Clearance needed for sliding, bifold, or hinged doors
- Baseboard depth and any projecting trim
Closet walls are not always square, so use the smallest relevant measurement when choosing an organizer. Also measure the organizer itself. Retail dimensions may describe the widest external point rather than usable interior space.
A basic tape measure is enough. The FastCap ProCarpenter 16-foot measuring tape has standard and reverse reading, fractions marked to 1/16 inch, an erasable note area, and a built-in pencil sharpener. Those features can be convenient, but any accurate tape that you can read confidently will work.
Measure occupied space, not just empty space
Hangers and clothing extend forward from the rod. A drawer needs room to open. A fabric organizer becomes wider and deeper after it is filled. Shoes may project beyond a shallow shelf.
Measure a few representative items from your wardrobe:
- The shoulder width of your widest jacket on its hanger
- The hanging length of shirts, pants, dresses, and coats
- The height and depth of shoes placed as you normally store them
- The dimensions of folded sweaters, jeans, and workout clothes
- The clearance required to remove a bin from a shelf
These measurements show whether you need full-length hanging space, short hanging space, shelves, or a combination.
Edit the volume before adding storage
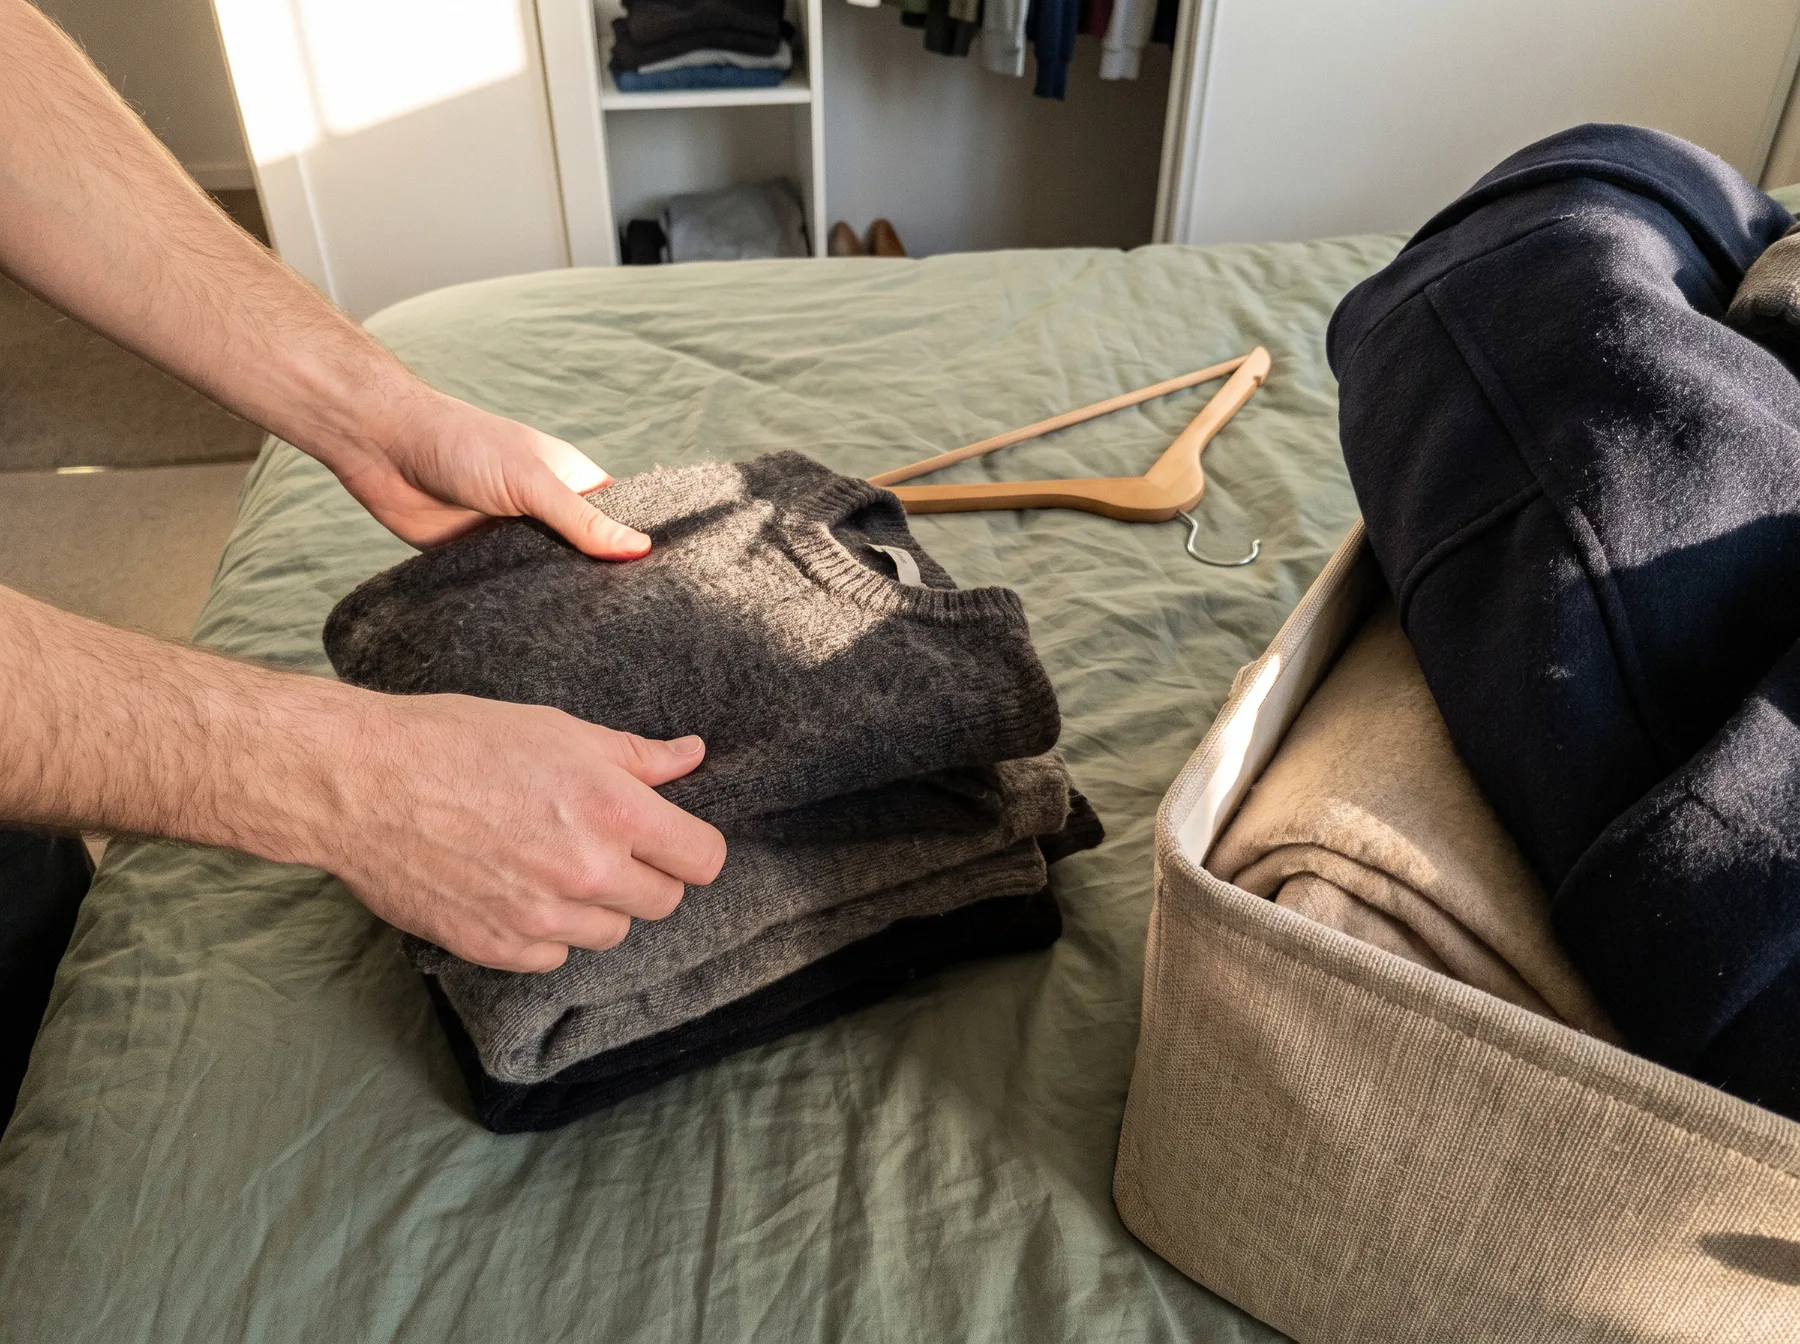
An organizer cannot correct a major mismatch between the volume of clothing and the available space. It can divide space more efficiently, but it still occupies room.
Take everything out and sort by category. Do not begin with an emotional keep-or-discard decision for every item. First identify what belongs in this particular closet.
Useful groups include:
- Frequently worn hanging clothes
- Long garments
- Folded clothes
- Shoes
- Bags and accessories
- Off-season clothing
- Special-occasion items
- Laundry or repair items
- Objects that belong elsewhere
Return daily clothing first. Then add occasional items if space remains. Off-season coats, spare bedding, luggage, and keepsakes often consume the high-value space needed for daily dressing.
If you have many clothes, compression alone is rarely the full answer. Review how to organize a small closet with lots of clothes before buying additional bins. It helps distinguish a layout problem from a clothing-volume problem.
Create a separate destination for wearable clothes that are not ready for the laundry. Otherwise, they often collect on a chair or return to the closet without a clear category. A small hook, divided basket, or dedicated section can work. For a more detailed setup, see this small-bedroom wear-again system.
Build small closet organization around access zones
Once you know what must remain, divide the closet by reach and frequency. This prevents low-use items from occupying the easiest locations.
Prime zone: daily clothing
The center area between roughly waist and eye level is usually easiest to see and reach. Use it for daily shirts, pants, work clothes, or frequently worn folded items.
Keep enough open space to slide hangers along the rod. A tightly packed rod makes it difficult to browse and often causes several garments to come out at once.
Upper zone: light, infrequently used items
The top shelf suits items that are light enough to lift safely and used less often. Examples include off-season clothing, spare bags, and folded bedding.
Use containers that can be removed without dragging against the ceiling or door track. Leave a visible label facing forward. Deep, unlabeled bins tend to become long-term holding areas for forgotten belongings.
Lower zone: shoes and sturdy containers
The floor can hold shoes, a hamper, or low bins, but preserve enough open area to stand near the closet and reach hanging clothes.
A shoe shelf is useful when it matches the depth of the shoes and does not interfere with the door. If the closet is very shallow, place shoes heel-to-toe or move occasional pairs elsewhere instead of forcing in a deep rack.
Side and door zones: small accessories
Narrow wall areas can hold belts, scarves, or lightweight bags if the mounting method is allowed. An over-the-door organizer can use otherwise empty space, but it needs clearance above and beside the door. It can also prevent a door from closing cleanly or rub against trim.
Do not add door storage automatically. Test the door swing and check whether stored items strike hanging clothes, shelves, or the wall.
Choose an organizer by the bottleneck
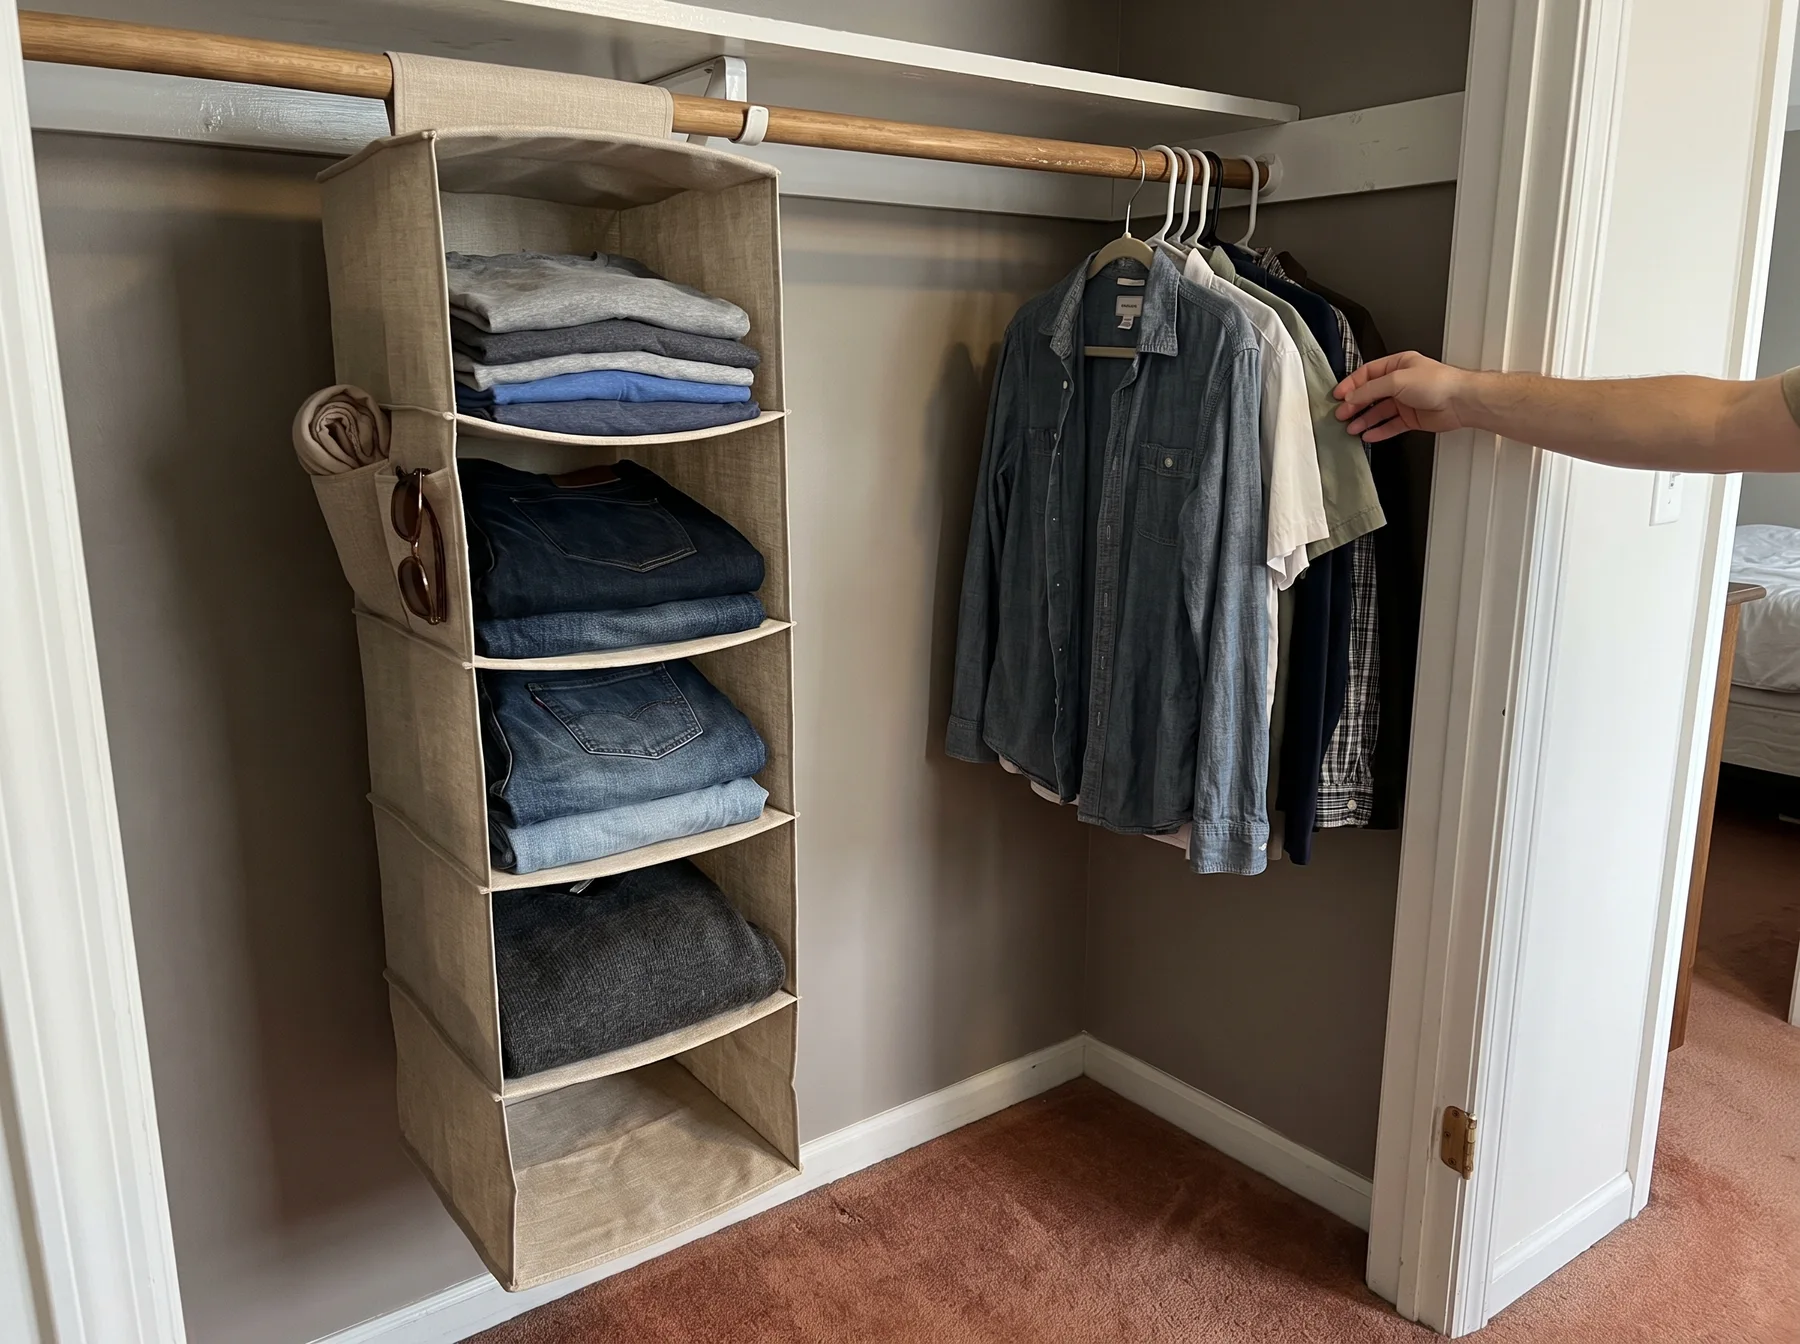
The best organizer addresses a specific shortage. Identify whether you lack hanging width, shelf area, drawer space, shoe storage, or access to high shelves.
Add a hanging organizer when shelf space is missing
A fabric organizer turns a section of rod into vertical compartments for sweaters, jeans, T-shirts, or accessories. It is most useful when you have spare rod width but no shelves.
The tradeoff is significant: every hanging organizer takes away space for clothes on hangers. Measure its installed drop and width, then compare that with your wardrobe before buying. The YOUDENOVA six-shelf hanging closet organizer has six fabric compartments and side pockets intended for lightweight folded clothes and accessories. Check the available hanging clearance and the closet rod's capacity before loading it.
Use bins for categories, not miscellaneous storage
Bins work well for small items that otherwise spread across a shelf. Assign each bin a narrow purpose, such as workout accessories, winter hats, or swimwear.
Choose open bins for things you use often and lidded containers for items that need dust protection. Clear containers reveal their contents, while opaque bins reduce visual clutter but require labels. Neither option compensates for a bin that is too deep to remove easily.
Consider a second rod only for short garments
A lower rod can almost double hanging capacity when most garments are shirts, folded pants, or short jackets. It is a poor choice if you need substantial room for dresses, long coats, or a floor hamper.
Temporary tension rods vary in permitted use and capacity. Follow the manufacturer's instructions, keep the load conservative, and check periodically for slipping or wall marks. Do not place a rod where falling hardware could injure someone or block the closet door.
Add drawers only when they can open fully
A small drawer unit may replace a dresser, but it needs more than enough room to sit inside the closet. Measure the drawer at full extension and confirm that the closet opening, doors, and hanging clothes will not block it.
A drawer unit trapped behind a sliding door is frustrating even if its listed dimensions fit the interior width. In that situation, narrow baskets or open shelves may provide better access.
Make realistic placement decisions
Before installing anything, sketch the closet from the front. Mark the rod, shelves, door opening, and obstructions. Add the dimensions of proposed organizers to scale, even if the sketch is simple.
Place items according to movement through the routine:
- Put daily hanging clothes where the door opens widest.
- Keep folded basics between waist and shoulder height when possible.
- Place shoes below the clothes worn with them.
- Store accessories close to the clothing category they support.
- Move low-use items above eye level or outside the closet.
Then test the layout with cardboard boxes or empty containers before purchasing a full set. Open the door, remove a shirt, pull out a bin, and reach the top shelf. A layout is not successful if each action requires moving something else first.
Common mistakes that reduce usable space
Filling every gap
A completely full closet may look efficient in a photograph, but it leaves no working clearance. Hangers need room to move, bins need room to lift, and shelves need enough open space for your hand.
Buying matching containers before sorting
Matching containers create visual consistency, but the wrong dimensions waste space. Sort and measure first. You may find that you need two shallow bins and one open basket rather than a complete coordinated set.
Stacking loose clothing too high
Tall stacks collapse when an item is removed from the middle. Keep stacks short, use shelf dividers if permitted, or place folded clothing in shallow bins that support the sides.
Ignoring the door opening
Interior width does not equal accessible width. Sliding doors may expose only half the closet at a time, while bifold doors can block side shelves. Organizers should align with the actual opening, not just the back wall.
Treating the floor as overflow space
Loose shoes, bags, and laundry make every other zone harder to reach. Give floor items a defined boundary and keep the area under long garments especially clear.
A maintenance checklist that keeps the system usable
Small closets need regular, light maintenance because a few extra items can disrupt limited working space. Use this checklist monthly or when the closet begins to feel crowded:
- Return empty hangers to one end of the rod.
- Move laundry and wear-again clothes to their assigned places.
- Put shoes back in pairs.
- Remove dry-cleaning bags unless the cleaner advises keeping a particular covering.
- Return items that belong in another room.
- Check that removable hooks, tension rods, and hanging organizers remain secure.
- Clear anything blocking vents, panels, or plumbing access.
- Review one crowded category rather than reorganizing the entire closet.
- Leave a small amount of open rod and shelf space for ordinary changes.
The goal is not to fit the maximum number of objects inside. A successful closet lets you see what you own, remove it without unloading another category, and put it back without creating a new pile.
Join the conversation
0 comments
Leave a comment
Your email address will not be published. Comments are reviewed before appearing.