
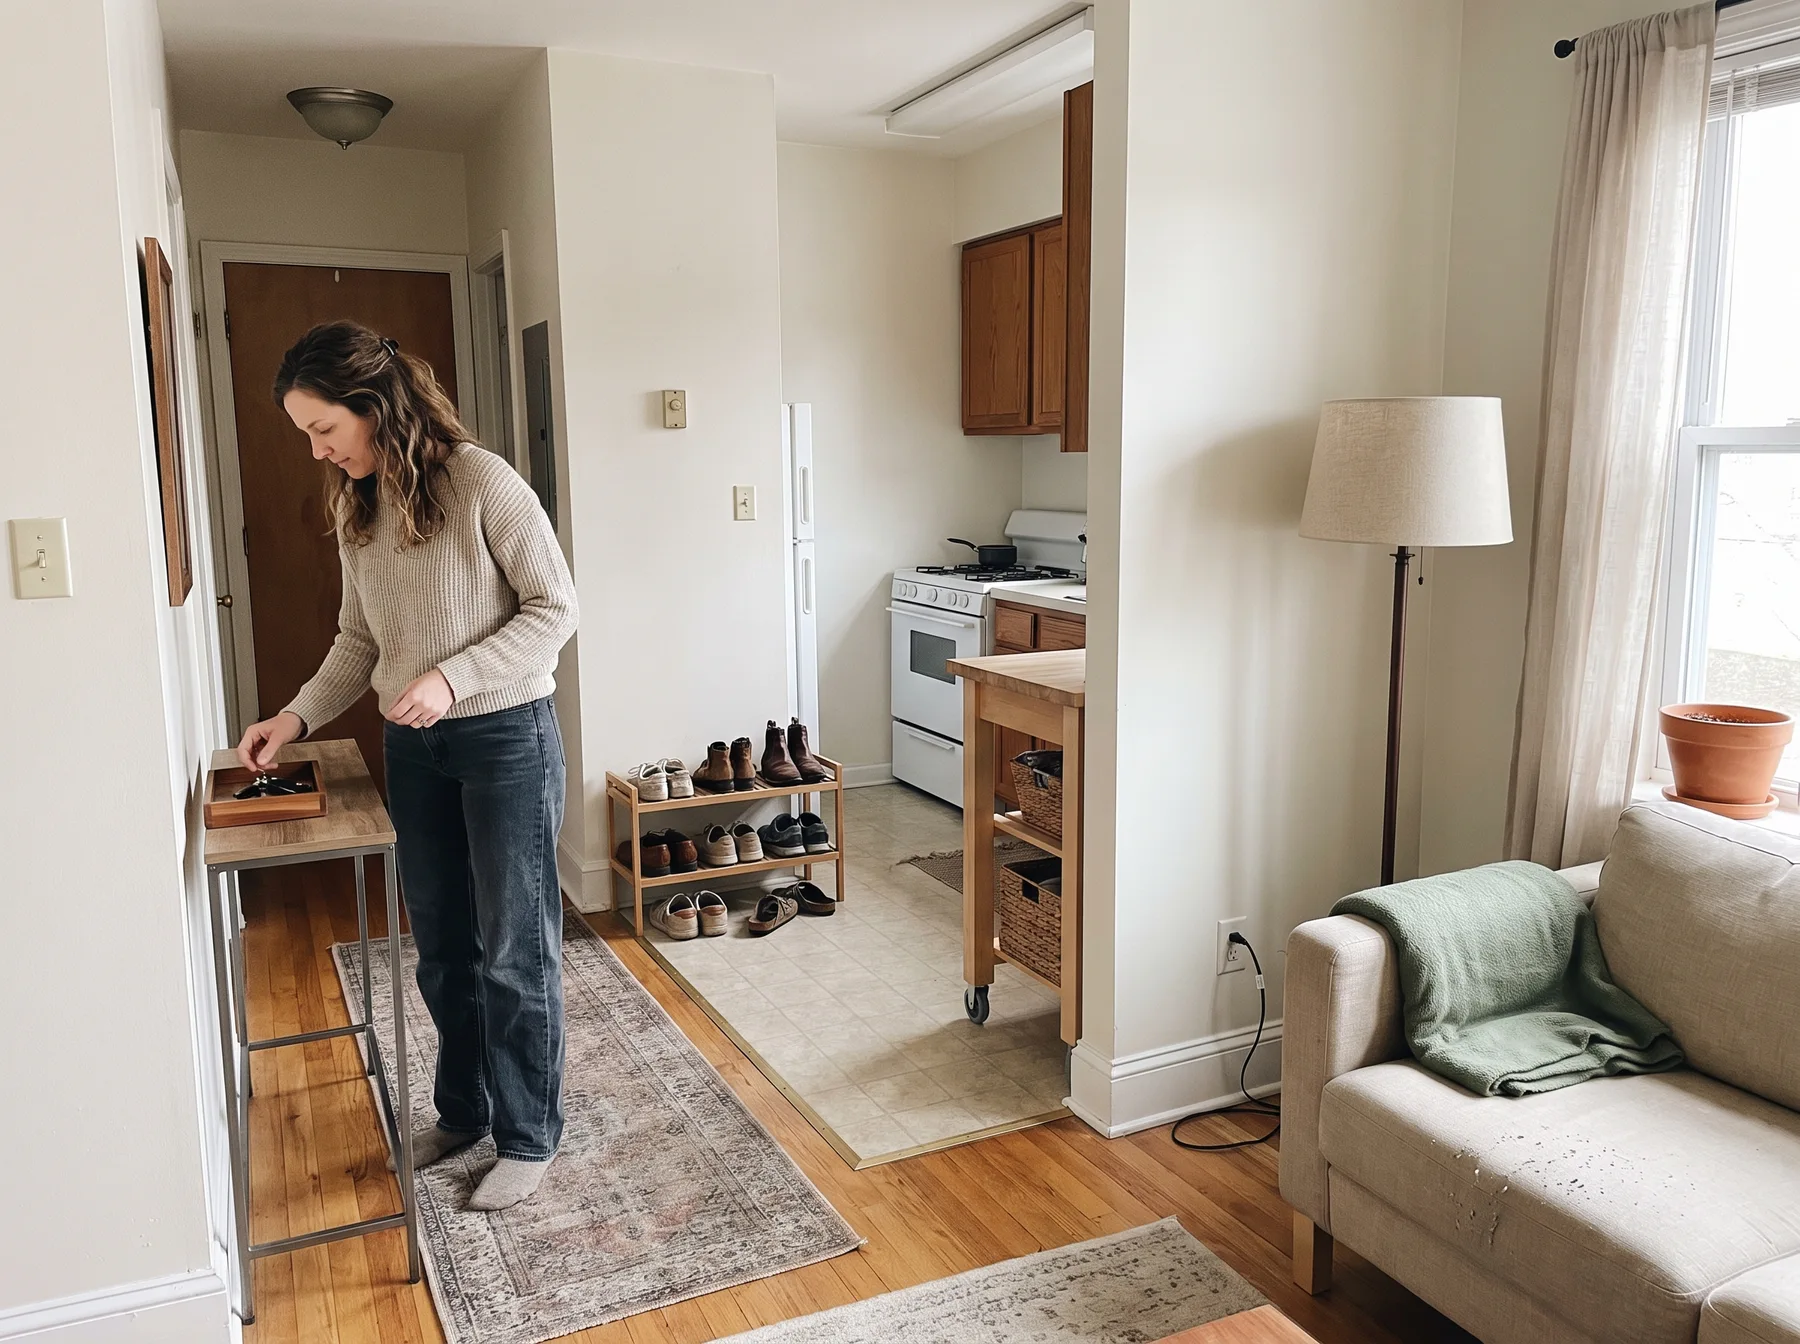
The best renter friendly upgrades solve a daily problem without leaving you with an expensive repair at move-out. Start with changes that stand on the floor, hang over a door, or fit inside existing storage. Treat adhesives, replacement hardware, paint, and drilled holes as higher-commitment choices that may require written permission.
This room-by-room plan helps you decide what to change, what to leave alone, and how to prepare for removal before installing anything.
Start with the lease, not the shopping list
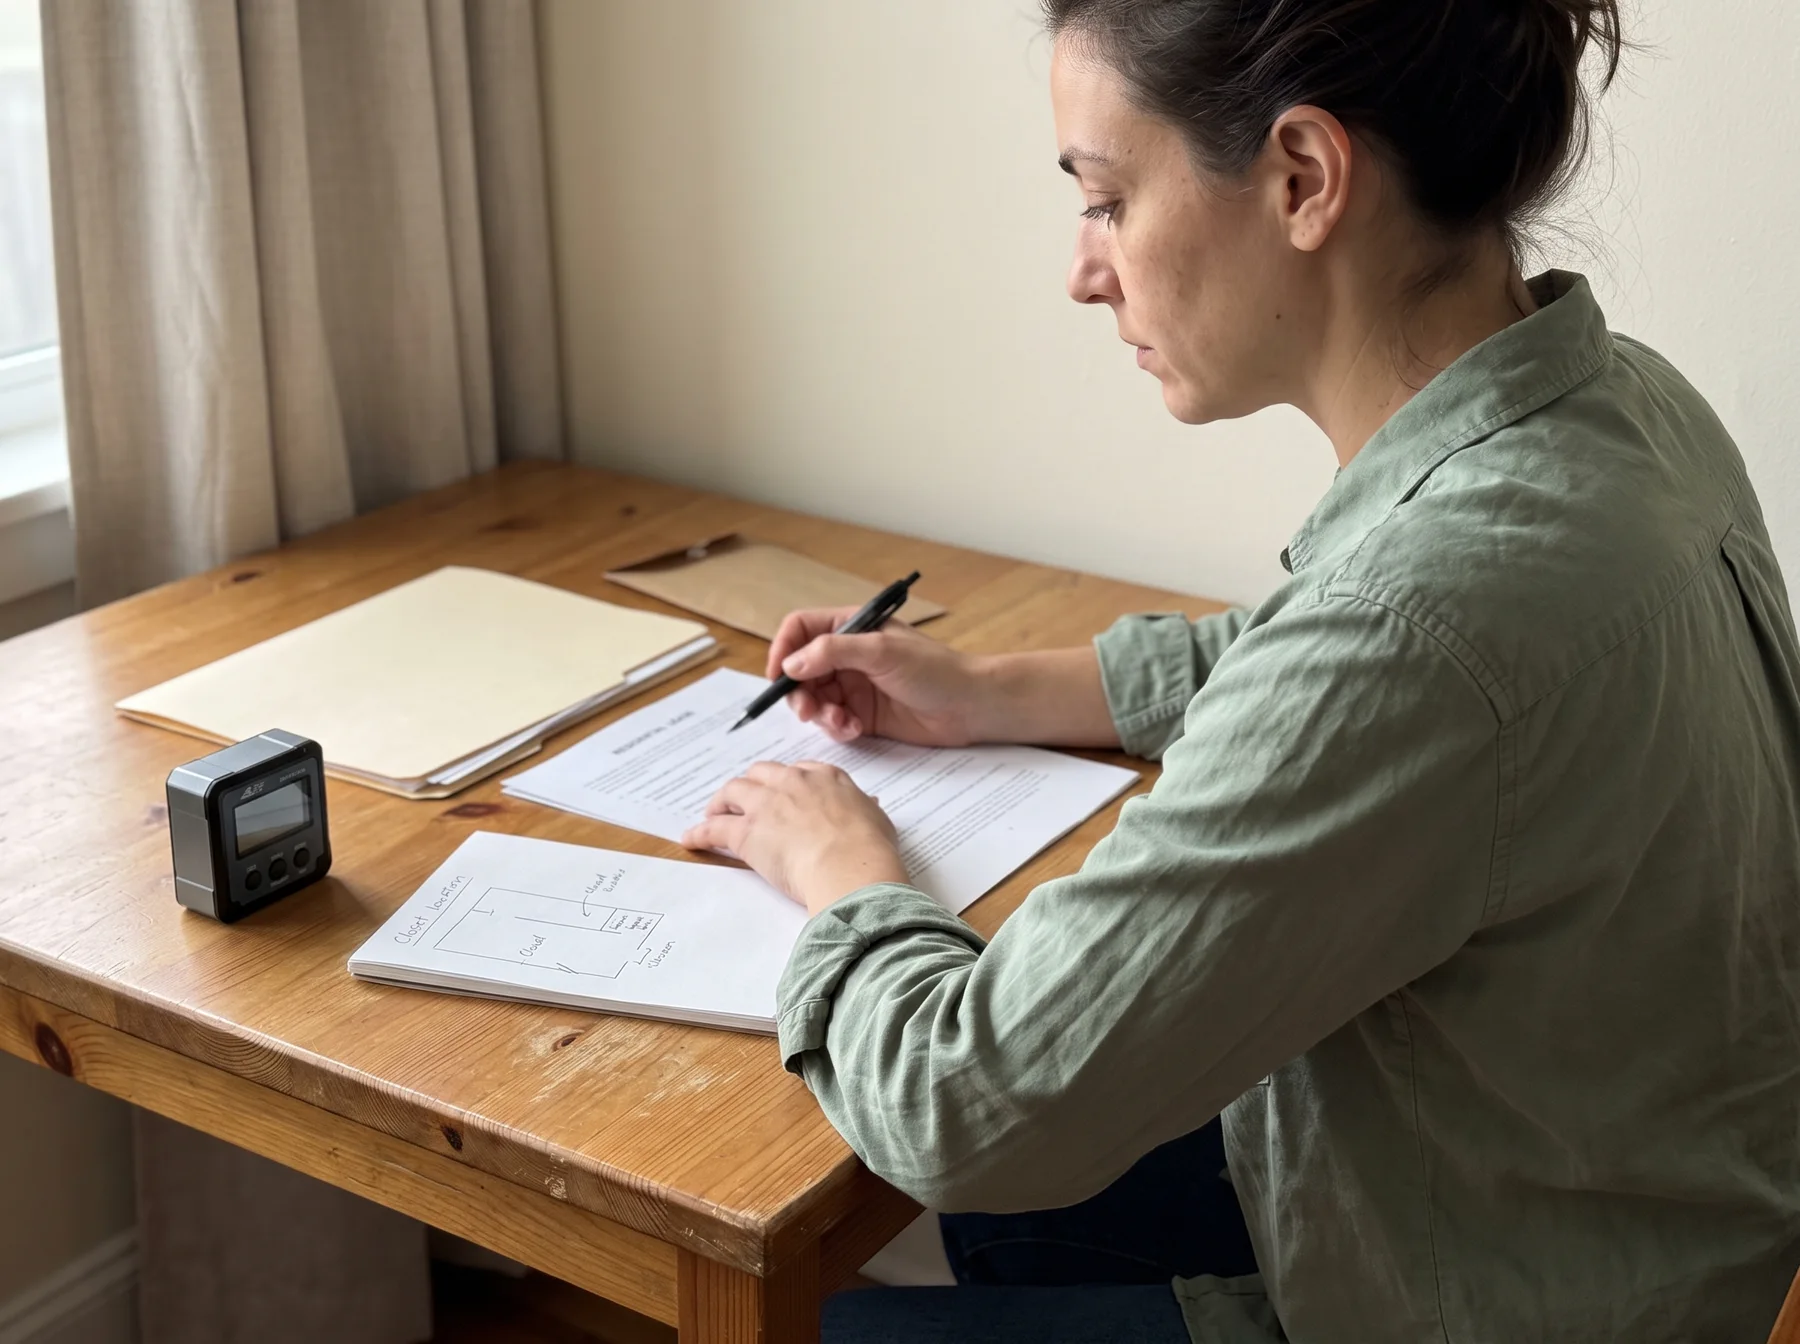
A product described as removable is not automatically allowed by your lease, safe for every surface, or guaranteed to come off cleanly. Paint condition, humidity, sunlight, cleaning products, and installation time can all affect removal.
If a ready-made product would help with this step, compare the Klein Tools 935DAG Digital Angle Gauge with your available space, the manufacturer's current specifications, and the way you plan to use it before buying.
Read the sections of your lease that address painting, wall fasteners, alterations, locks, window coverings, appliances, and exterior areas. If a rule is unclear, ask your landlord or property manager in writing. Describe the exact change, where it will go, and how you plan to reverse it.
Keep the response with your lease records. Verbal approval can be difficult to confirm later, especially if the property changes managers.
Make a simple upgrade record
Create one note or spreadsheet with these details:
- Room and location
- Problem the upgrade should solve
- Product, finish, or paint information
- Whether permission was required and received
- Installation date
- Removal instructions
- Location of original screws, knobs, shades, or other parts
Photograph the area before installation, after installation, and after removal. Photos do not override the lease, but they give you a useful condition record.
Audit your space and daily routine
Walk through the rental at the times when it is hardest to use. Notice where shoes block the door, where kitchen tools pile up, where towels cannot dry, and where lighting is too dim for a task.
For each problem, ask four questions:
- Is this a storage problem, a visibility problem, or a maintenance problem?
- Can I solve it with something freestanding?
- Will the solution block a door, vent, detector, window, outlet, plumbing access, or walkway?
- Where will the item and its original parts go when I move?
Measure before buying. Record wall width, floor depth, door thickness, clearance above doors, cabinet openings, shelf spacing, and the path needed to bring an item into the room. Check baseboards and radiators because they can keep furniture from sitting flush against a wall.
Prioritize friction that occurs every day. A better landing spot for keys or a usable food-prep area usually provides more value than a decorative treatment on a wall you rarely notice.
Choose renter friendly upgrades by commitment level
Sorting projects by removal risk makes it easier to avoid accidental damage.
Lowest commitment: freestanding and fitted items
Begin with floor lamps, tension rods used within their stated limits, freestanding shelves, carts, rugs, furniture, drawer organizers, and bins. These usually require no change to the property, although tall or unstable furniture may still need appropriate anchoring. Ask for permission before anchoring and follow the furniture manufacturer's instructions.
Fitted inserts can also improve cabinets and drawers without altering them. Measure around hinges, pipes, disposal units, and drawer slides rather than using only the outside dimensions.
Moderate commitment: over-door and removable hardware
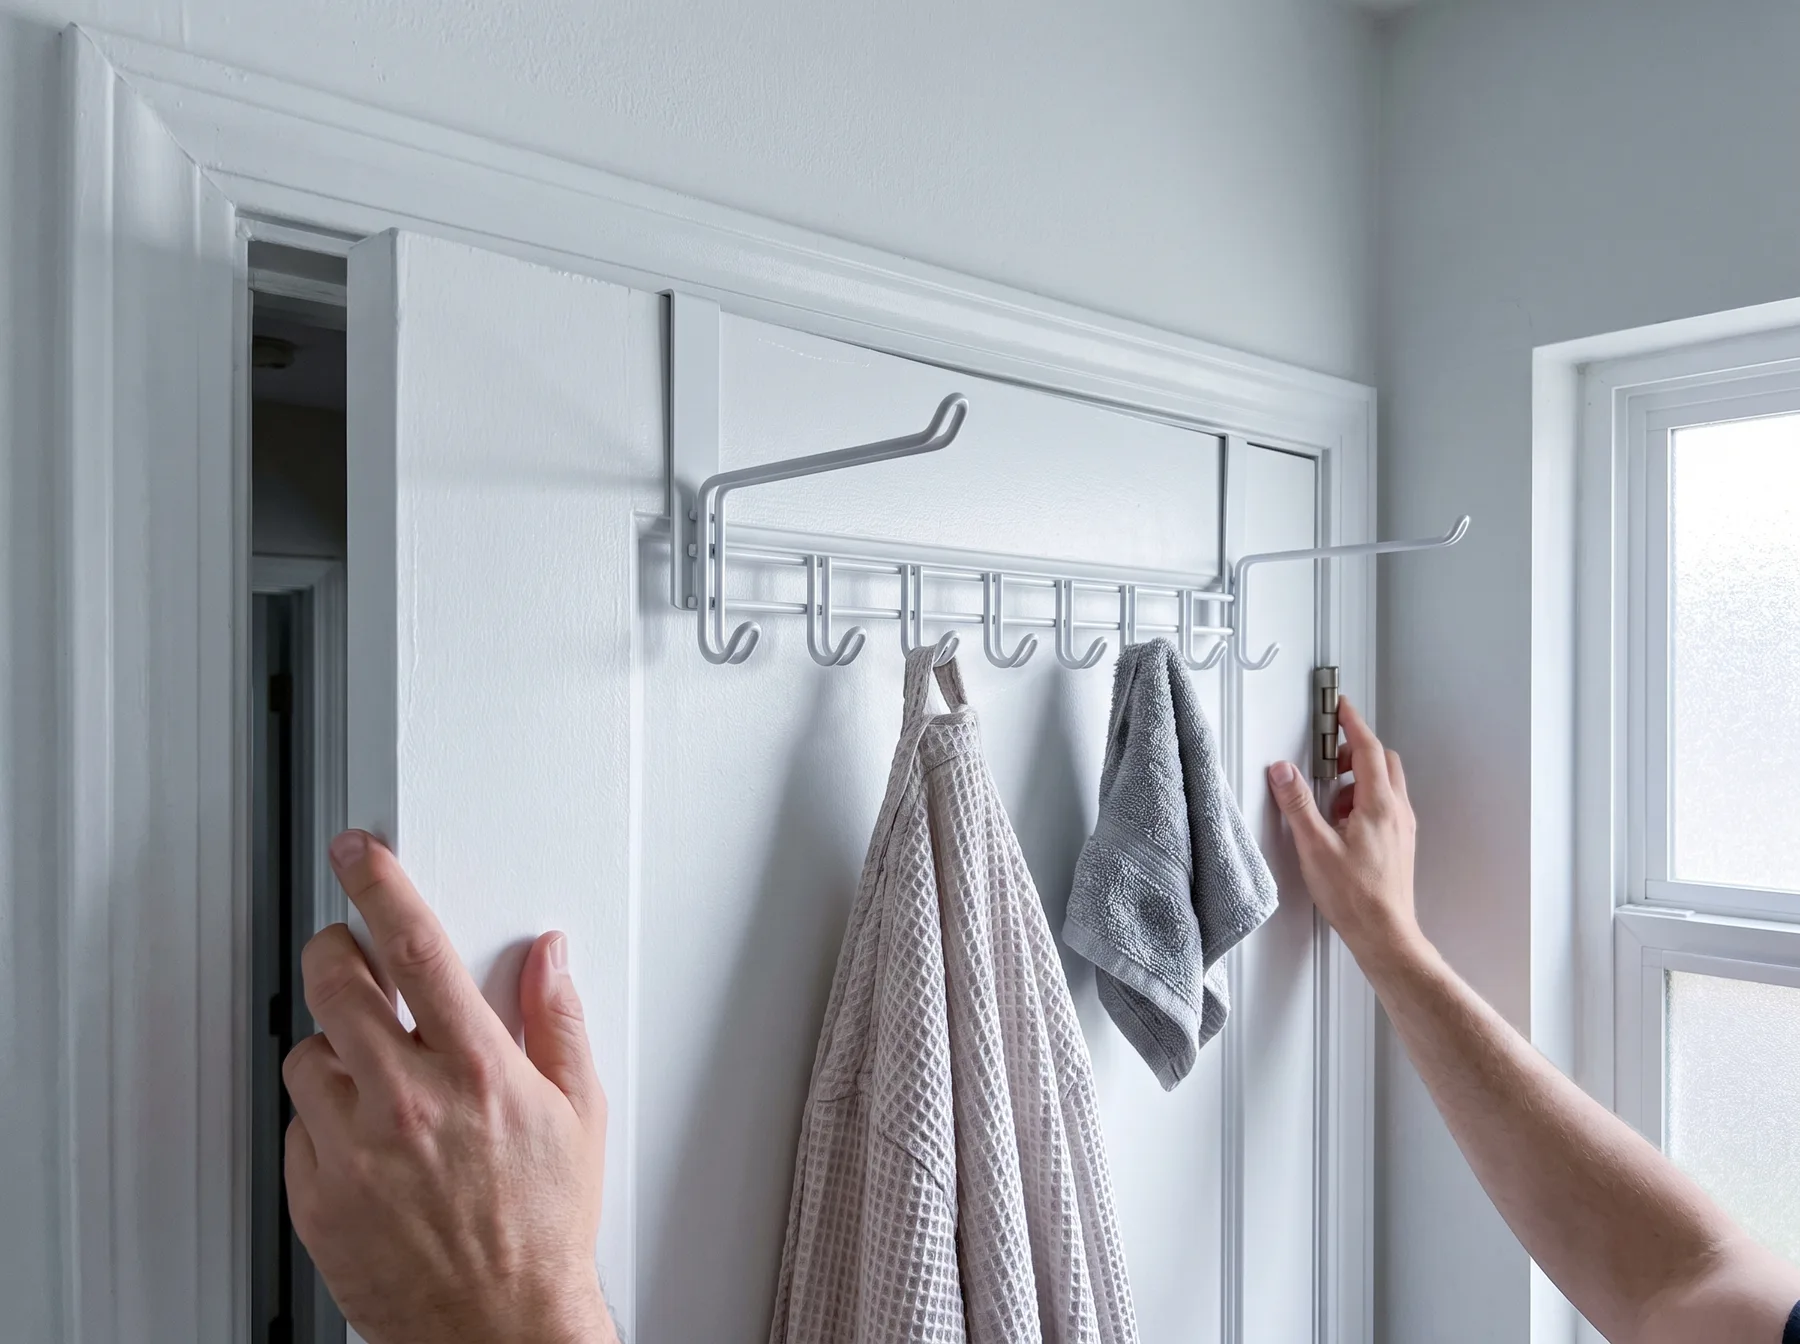
Over-door racks can add storage without drilling, but the fit matters. Measure the door thickness and the gap above it. Confirm that the door closes without scraping and that the rack does not interfere with trim, hinges, or the wall behind the door.
For example, the Optish 12-hook over-the-door hanger is listed for doors up to 1.75 inches and has 7.1-inch extended arms. It can provide accessible hooks for robes and smaller items, but the extended arms need clearance. Hooks also do not spread a wet bath towel as effectively as a full-width towel bar. Stay within the manufacturer's load guidance.
Adhesive hooks and strips belong in this category, too. Their actual risk depends on the surface beneath them. Use them only on compatible, sound finishes, and remove them exactly as directed rather than pulling them away from the wall.
Higher commitment: holes, paint, and replaced fixtures
Drilling, painting, swapping cabinet hardware, changing a showerhead, or replacing a light fixture can create more work at move-out. These changes may be worthwhile, but they require a clear permission and restoration plan.
Do not alter electrical wiring, plumbing connections, locks, smoke detectors, carbon monoxide detectors, or other building systems unless the lease permits it and the work is completed by an appropriately qualified person when required. A fixture that looks simple can still involve hidden hazards or code requirements.
A room-by-room upgrade plan
Work on one room at a time. Finish the functional layer before adding decor so you can tell whether the upgrade actually solves the problem.
Entry: protect the exit and contain daily clutter
The entry needs clear floor space first. Do not place a bench, basket, or rack where it narrows the exit path or interferes with the door swing.
Useful low-commitment options include:
- A narrow, freestanding shoe rack sized to the available depth
- A washable mat that allows the door to move freely
- A small tray for keys and mail
- A basket for items that need to leave the apartment
- Hooks on a freestanding coat rack when wall mounting is not permitted
If your front door opens directly into the living room, create a landing zone beside the traffic path rather than in it. The guide to apartment entryway organization when you have no entryway explains how to define this area without building a permanent divider.
Kitchen: increase usable work space
Kitchen upgrades should support cooking, cleaning, and food storage. Start by clearing the counter of items that are used less than several times a week. Move occasional tools into a cabinet, cart, or nearby shelf.
Consider these reversible changes:
- Drawer dividers cut or adjusted to the actual drawer size
- Shelf risers that do not press against cabinet doors
- A rolling cart that can move away from appliances and walkways
- Under-shelf baskets that fit without preventing the cabinet from closing
- A washable runner placed where it will not curl or slide
- Freestanding task lighting approved for the location
Keep combustible materials away from burners and other heat sources. Do not cover appliance vents or run cords across sinks, stoves, or walking paths. Countertop films and adhesive backsplash panels can be difficult to remove from weak paint, laminate seams, grout, or textured surfaces, so test first and get permission when the lease is unclear.
For a more complete layout method, use this zone-by-zone system for organizing a small kitchen.
Bathroom: improve access and drying
Bathrooms expose products and adhesives to moisture, heat, and frequent cleaning. That makes surface compatibility especially important.
Start with storage that does not depend on wall adhesion:
- A slim cart placed outside the door swing
- An over-toilet unit that fits around supply lines and the tank lid
- A tension shower caddy approved for the intended surfaces
- A washable bath mat with enough clearance under the door
- Baskets that separate daily toiletries from backup supplies
Make sure plumbing shutoffs, access panels, outlets, vents, and the toilet tank remain accessible. Store medicines and cleaning products according to their labels and away from children or pets where relevant.
Give damp towels enough open space to dry. A crowded row of hooks may hold several towels, but it can keep them folded against themselves. A freestanding drying rack or permitted towel bar may work better when floor or wall space allows.
Bedroom and closet: add capacity without crowding the room
Before adding storage, measure the open floor area with drawers and closet doors fully extended. A dresser that technically fits may still make the room frustrating to use.
Try these upgrades in order:
- Adjust existing closet rods or shelves only if they are designed to move.
- Add freestanding drawer units or shelf dividers inside the closet.
- Use matching slim hangers if they suit the weight and shape of your clothing.
- Add under-bed containers after measuring the frame, center supports, and floor clearance.
- Add a bedside lamp or plug-in wall light without routing cords through a walkway.
Avoid hanging heavy organizers from a lightweight closet rod. Check the organizer and rod guidance, and distribute weight rather than concentrating it at one point.
Living room: improve layout before changing the walls
Furniture placement can solve more problems than wall decor. Keep a comfortable path between the entry, seating, windows, and other rooms. Do not block heaters, air returns, radiators, or balcony doors.
A rug can define a seating area, curtains can soften a room where the lease permits installation, and floor lamps can provide task lighting without electrical work. Confirm that rugs do not create curled edges or slippery transitions.
If you replace existing curtain rods or shades with permission, label and store every original bracket, fastener, and part together. Do not remove window coverings that are required for privacy, safety, or property rules.
For art, start with lightweight pieces and the least invasive hanging method approved for the wall finish. Large mirrors and heavy frames need mounting hardware suitable for their weight and the wall construction. Adhesive strips are not a universal substitute for proper mounting.
Laundry area: work around heat, water, and ventilation
Laundry spaces often have very little clearance. Add storage only after checking doors, appliance controls, hoses, valves, electrical connections, and dryer ventilation.
A narrow rolling cart may fit beside a machine, but it should pull out without catching hoses or cords. A shelf over an appliance must not interfere with ventilation or access. Do not stack items on a washer or dryer if the manufacturer prohibits it or if vibration makes them unstable.
Store detergent according to its label. Keep laundry products contained and inaccessible to children and pets where necessary.
Balcony or patio: check building rules first
Exterior areas often have stricter rules than interior rooms. Confirm policies for planters, grills, lighting, privacy screens, floor coverings, and items attached to railings.
Do not hang objects over the exterior side of a railing. Keep drains clear, protect required exits, and account for wind. Water planters in a way that does not damage the surface or drip onto neighbors below.
Build a realistic budget
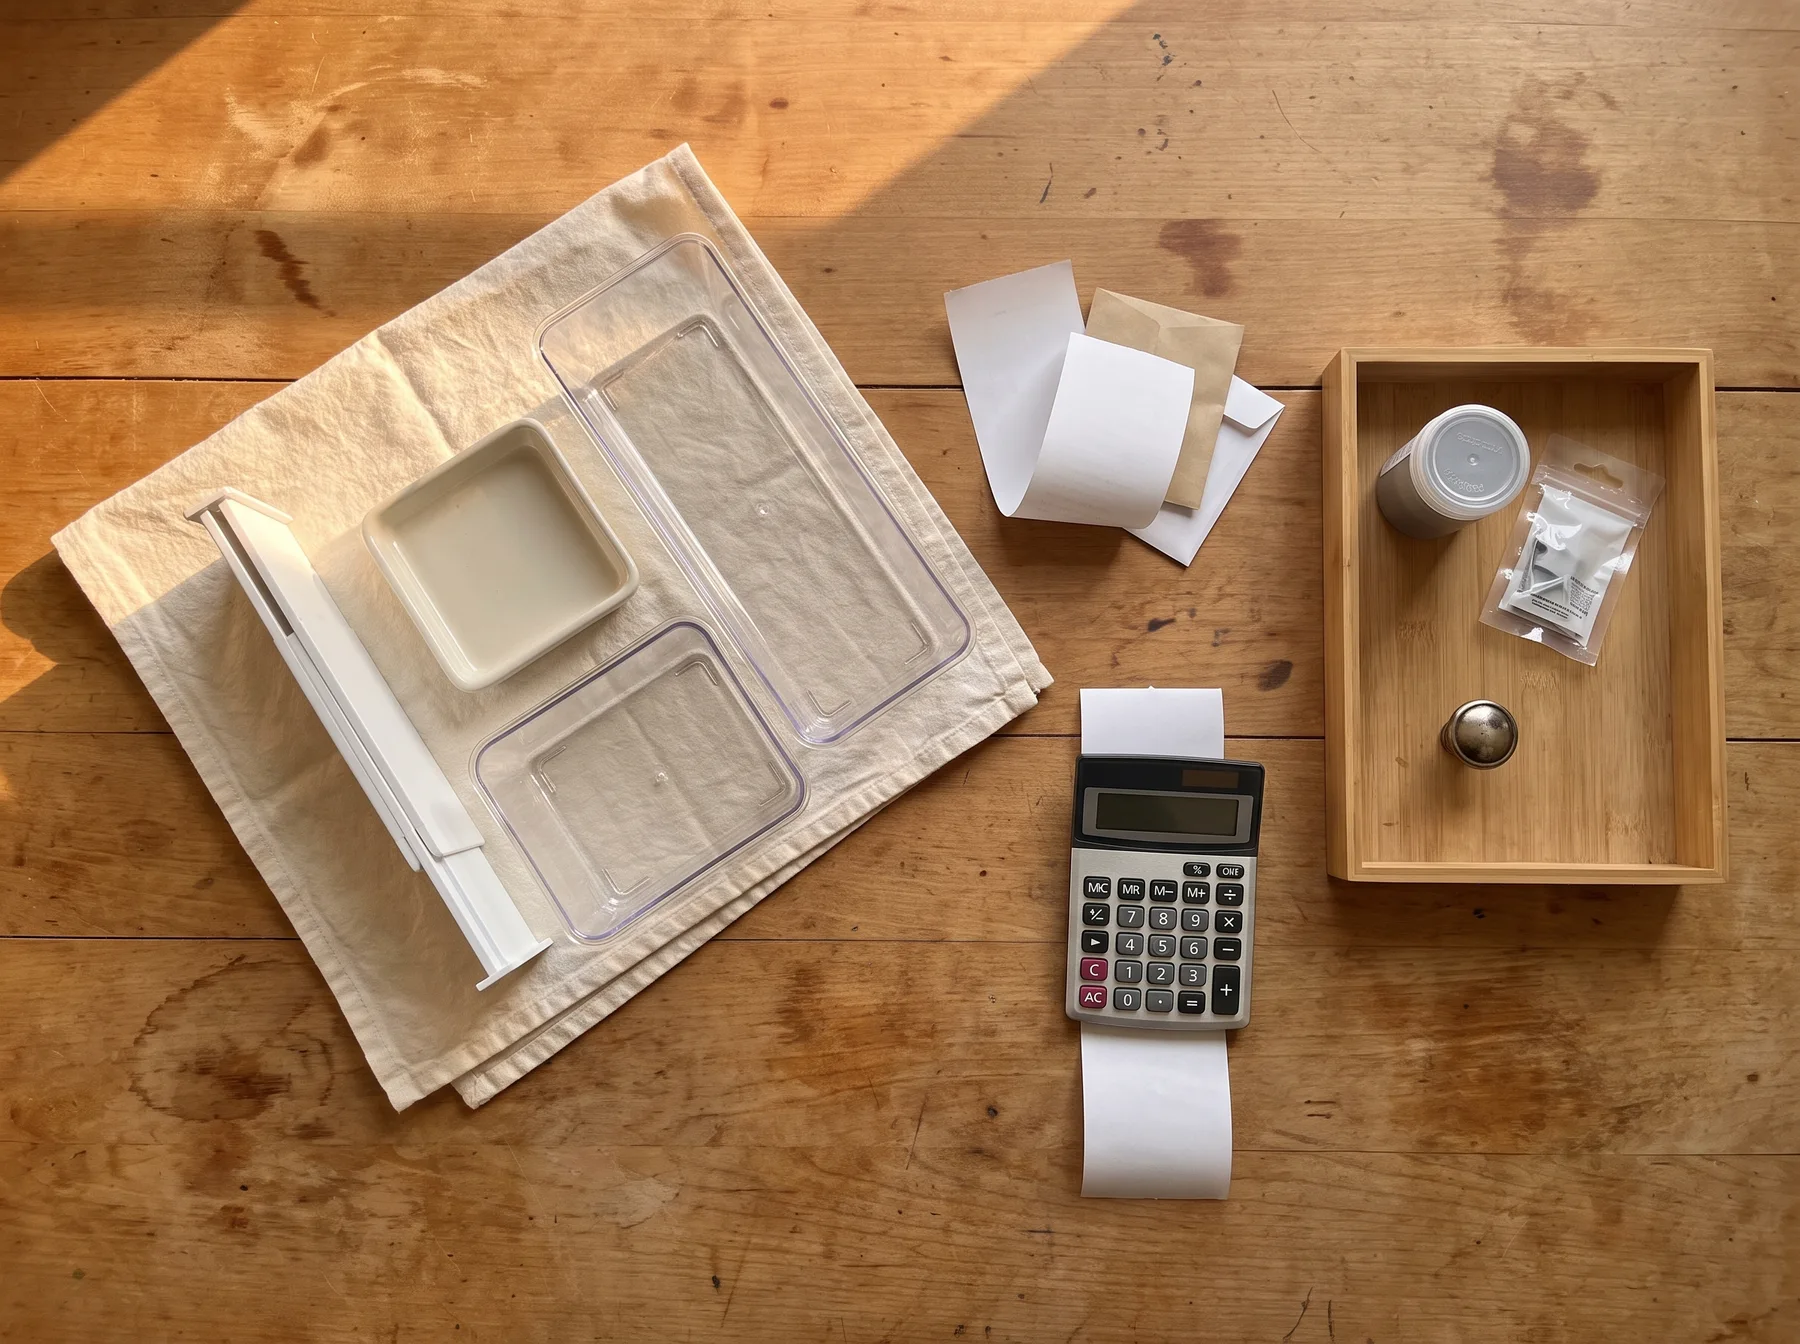
A useful budget includes removal and restoration, not just the purchase price.
Under $50: fix one source of daily friction
Choose one focused improvement, such as a shoe tray, drawer dividers, a bath storage basket, a lamp, or cord management designed for the surface. Use measurements to avoid buying several small items that do not fit.
$50 to $200: complete one functional zone
At this level, you might combine a narrow cart, containers, lighting, and a rug to improve one kitchen, entry, or bedroom area. Spend first on the item that creates capacity. Decorative accessories can wait until the layout works.
Over $200: invest in items that can move with you
Prioritize adaptable furniture, freestanding shelving, quality lighting, or window treatments that can work in another home. Be cautious with custom-cut films, fitted panels, and other products that may fit only the current rental.
Include replacement supplies in the total. You may need fresh adhesive tabs, cleaning products approved for the surface, patching materials approved by the landlord, or help restoring a permitted alteration.
Plan removal before installation
A reversible project needs a removal sequence from the start.
Store original hardware in labeled bags, then place the bags in one dedicated move-out box. Save installation and removal instructions digitally. Keep leftover paint only if storage is permitted and the container can be sealed and labeled safely.
Schedule removal before the final day of the lease. Adhesives may need slow, careful removal, and patched areas may need drying time. If a product resists removal, stop and consult its instructions rather than using extra force, heat, or solvents that may damage the finish.
Common mistakes that make move-out harder
Trusting a removable label without testing
A removable product may work well on one finish and damage another. Test the exact product on the actual surface in a hidden location, then wait for the period recommended by the manufacturer before evaluating it.
Throwing away original parts
Landlord-owned knobs, shades, screws, shelf pins, and showerheads can be difficult to match later. Label them by room and fixture even if they seem generic.
Buying before checking clearance
Door racks, carts, under-bed boxes, and cabinet organizers fail most obviously when a door, drawer, hinge, or pipe blocks them. Measure the usable opening and moving parts, not just the empty-looking space.
Making every room a project at once
Multiple unfinished upgrades create clutter and make it harder to track original parts. Complete and document one functional zone before moving to the next.
Leaving restoration until moving day
Removal can reveal discoloration, residue, small holes, or paint differences. An early check gives you time to follow the agreed restoration process or ask the property manager how to proceed.
A maintenance and move-out checklist
Review reversible upgrades every few months and again several weeks before moving:
- Check racks, furniture, and organizers for movement or instability.
- Inspect adhesive edges without pulling on them.
- Confirm that vents, detectors, shutoffs, and exits remain clear.
- Remove clutter that has accumulated around storage systems.
- Verify that original property parts are labeled and complete.
- Revisit manufacturer removal instructions before taking anything down.
- Remove one upgrade at a time and photograph the exposed surface.
- Clean with products approved for the material.
- Complete only the patching, painting, or reinstallation permitted or required by the lease.
- Ask the property manager about unexpected damage instead of hiding it with an unapproved repair.
A rental can feel more functional without becoming a major renovation. The most dependable approach is to solve one repeated problem, choose the lowest-commitment option that works, and know exactly how you will remove it before installation begins.
Join the conversation
0 comments
Leave a comment
Your email address will not be published. Comments are reviewed before appearing.