
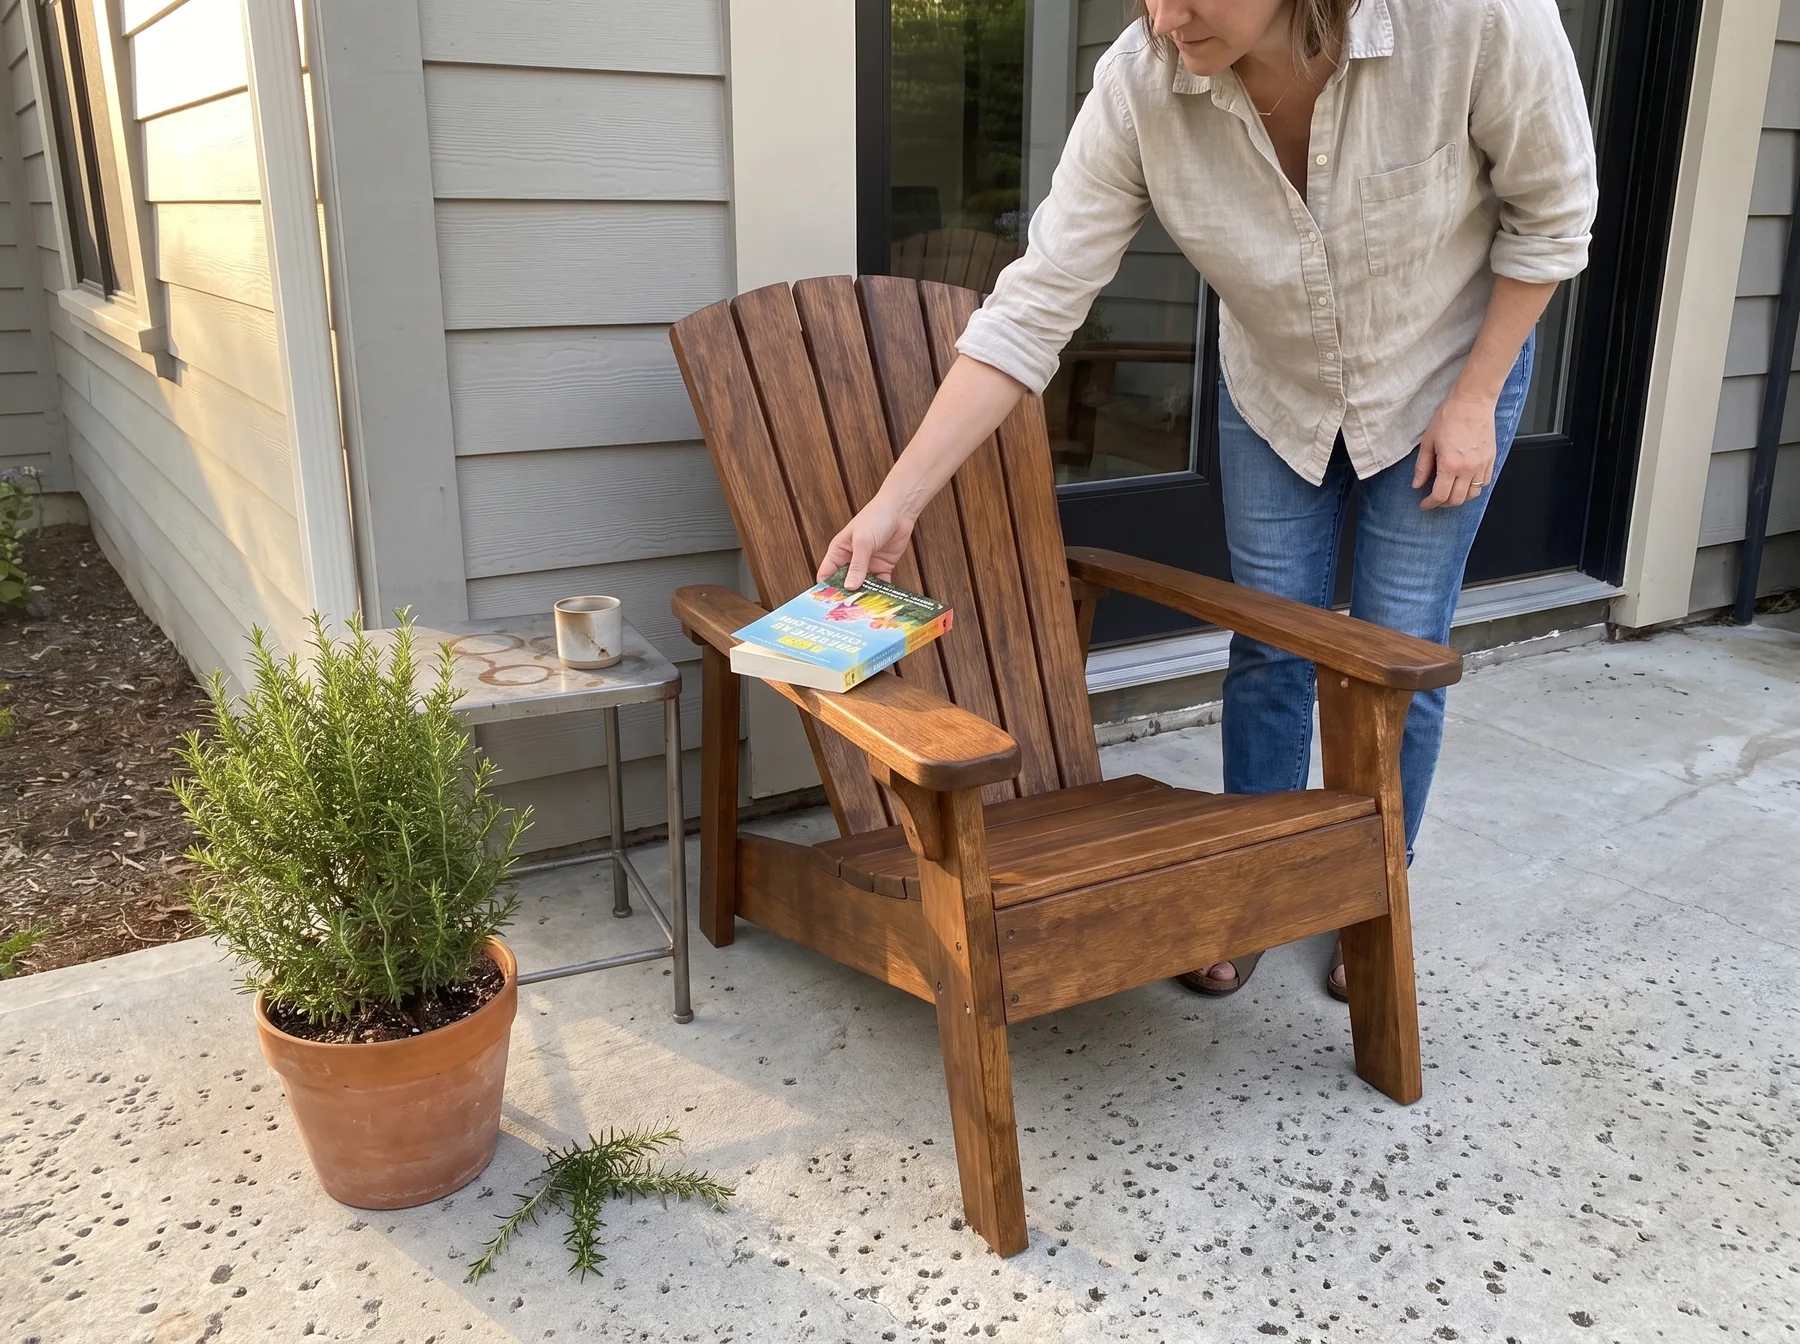
A classic Adirondack chair is a worthwhile woodworking project when you have a patio, porch, deck, or yard spot that needs comfortable, low seating. This design has a familiar reclined profile, broad armrests, and a seven-slat fan back, but it uses a four-leg structure rather than relying on wide side panels alone. The finished chair is approximately 33 inches wide, 34 inches deep, and 39 inches high.
The DIY 4-Leg Fan-Back Adirondack Chair Woodworking Plan is a digital PDF plan for readers who want complete project dimensions, cut information, and an organized assembly sequence before buying lumber. It is not a physical chair, lumber package, hardware kit, or tool set.
This project suits a beginner who is comfortable measuring, making repeated cuts, drilling pilot holes, and sanding outdoor furniture parts. It also requires room to cut and assemble pieces safely. The chair itself is compact enough for many outdoor areas, but building it is usually better done in a garage, driveway, workshop, or other approved work area with a stable work surface.
What the finished Adirondack chair looks and feels like
The project makes an Adirondack-style chair with a six-slat reclined seat and a seven-slat fan-shaped back. Its 22-inch clear seat width gives one person a reasonably spacious sitting area, while the 29-inch armrests provide a practical place for a drink, book, or phone.
The chair's front seat height is 16 1/2 inches and the rear seat height is 13 1/2 inches. That drop creates the relaxed seated position people expect from this style. The back reclines at 15 degrees. Those dimensions are part of the plan rather than details to estimate from a photo, which matters when you want the seat and back angles to line up cleanly during assembly.
Before choosing this project, mark out a 33-by-34-inch rectangle where the chair will sit. Leave additional space in front for legs and beside the arms for easy entry and exit. A pair of chairs also needs room between them for a small table without turning a compact balcony or porch into a tight pathway.
Who this woodworking plan is best for
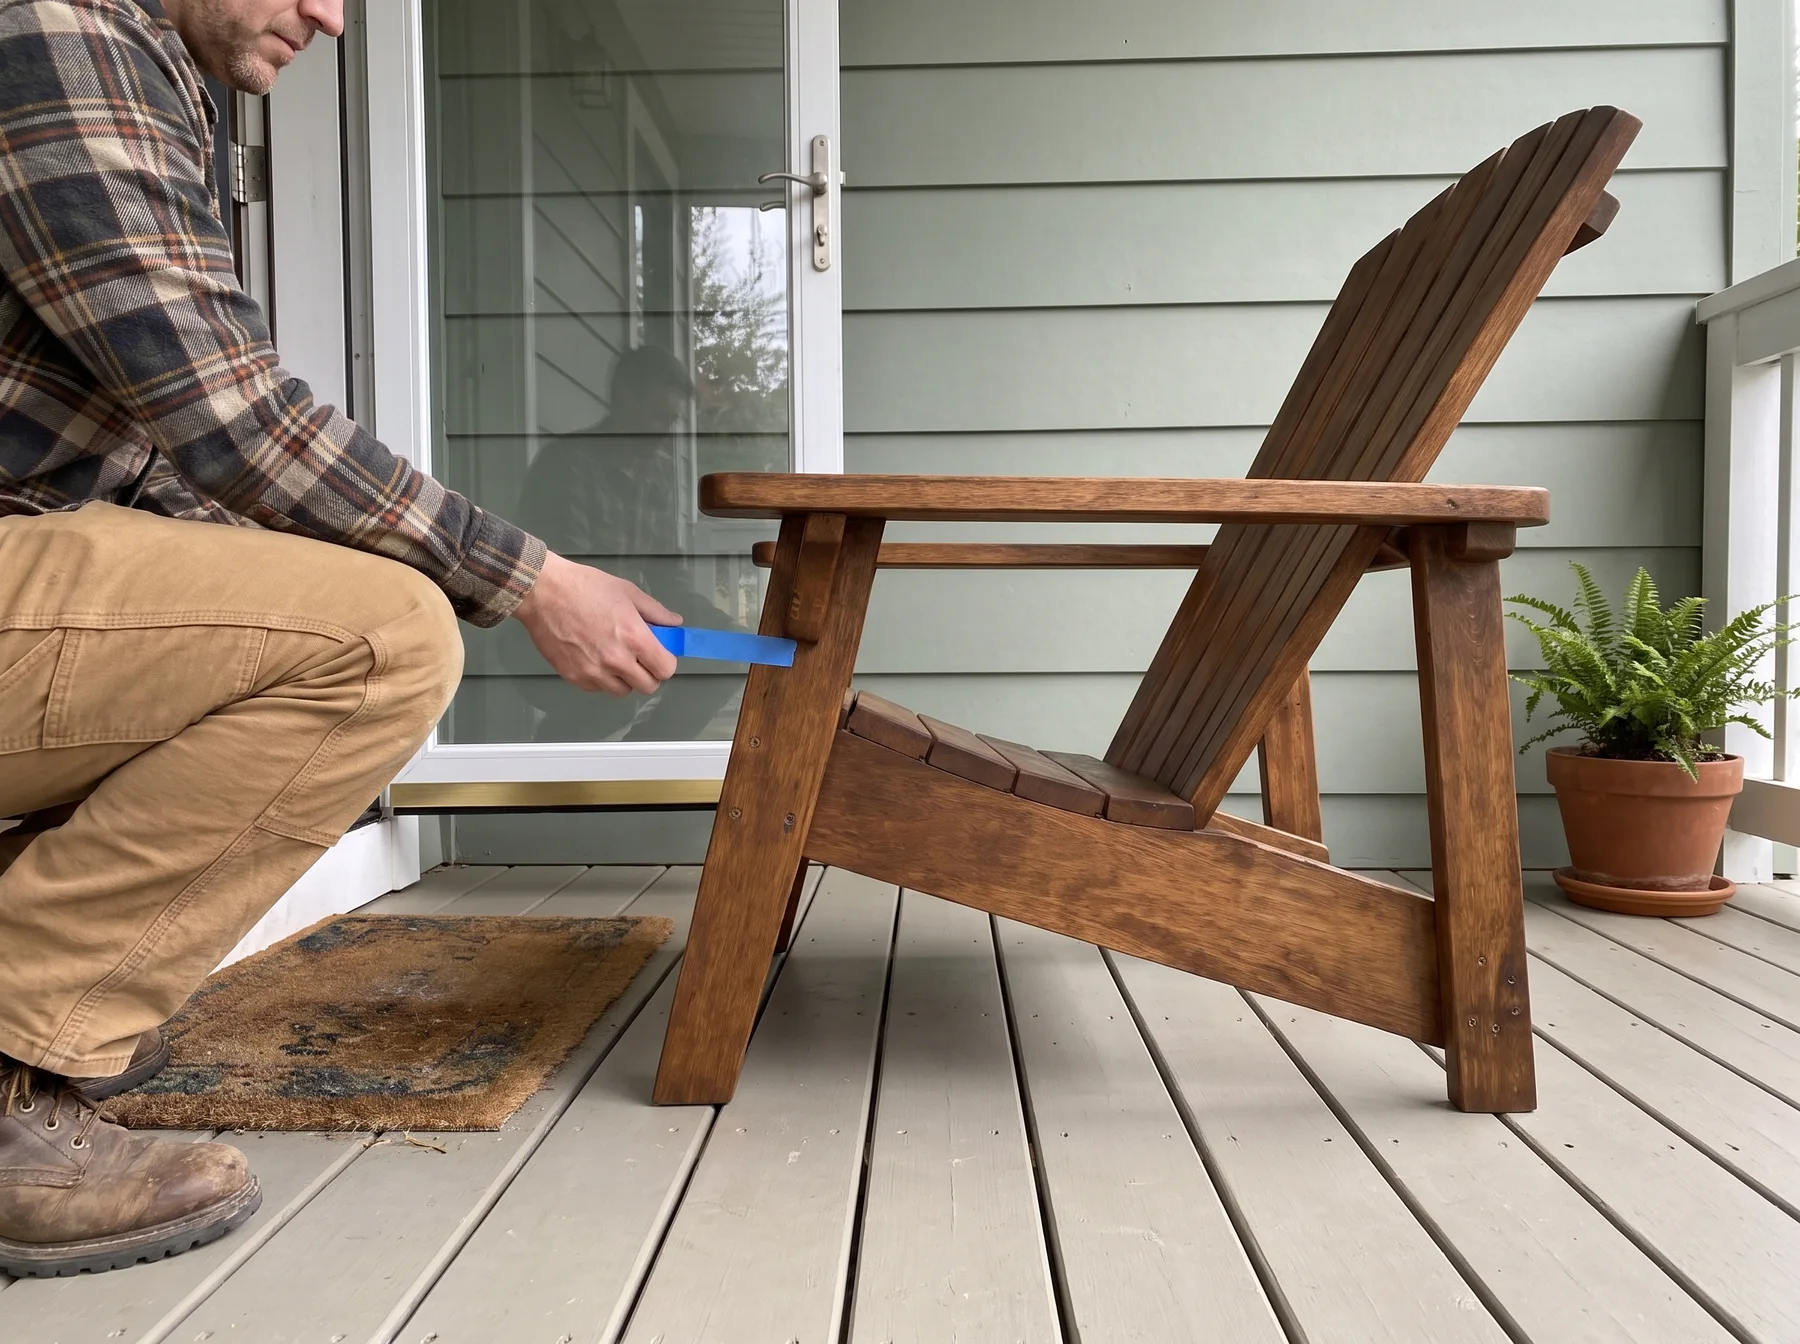
This plan is a sensible fit if you want an outdoor chair with clear measurements and prefer working from a full cut list instead of developing your own proportions. It is designed around standard U.S. dimensional lumber and common DIY tools, so it does not call for specialty woodworking machinery in the supplied project information.
It may be especially useful for:
- Beginners who want part IDs, cutting layouts, diagrams, and step-by-step assembly instructions in one document.
- DIYers making one durable chair for a garden, porch, or patio.
- Readers who like the wide-arm Adirondack style but want a distinct fan-back profile.
- Anyone who wants to compare lumber quantities before beginning the project.
It may not be the right choice if you need folding furniture, very lightweight seating, or a chair that fits a narrow apartment balcony. This is a full-size outdoor chair with a 34-inch depth. It is also not an appropriate project for an indoor living area unless you have enough clearance and a reason to use outdoor-style seating inside.
Renters should also check building rules before using a shared driveway, parking space, hallway, or common patio as a cutting area. Protecting common areas and keeping exits clear are basic considerations, even for a small furniture project.
Lumber and outdoor material choices
The plan's main lumber list calls for three 2x4-by-8-foot boards, five 1x4-by-8-foot boards, and one 1x6-by-8-foot board. That makes the project easier to plan at a typical lumberyard because the board sizes are standard.
For outdoor use, the supplied plan information recommends cedar, redwood, cypress, or properly sealed exterior-rated pine. The best choice depends on local availability, budget, and the finish you want. Cedar, redwood, and cypress are often selected for outdoor projects because they are commonly used where moisture exposure is a concern. Exterior-rated pine can be a more accessible option when it is properly protected with a suitable exterior finish.
Choose boards carefully. Look for pieces that are reasonably straight and free from major splits, particularly at the ends. Let lumber dry if it is wet from storage before applying an exterior finish, and inspect each board before you lay out cuts. The cutting layouts in the PDF help organize the board breakdown, but the wood in front of you still deserves a close look.
Use exterior-rated fasteners and a compatible exterior stain, oil, or paint system. The plan also includes outdoor finishing guidance and a final build checklist. Seal exposed end grain, since cut ends are especially vulnerable to weather. Periodic inspection is part of owning wood furniture that stays outdoors.
Tools you will need to work from the plan
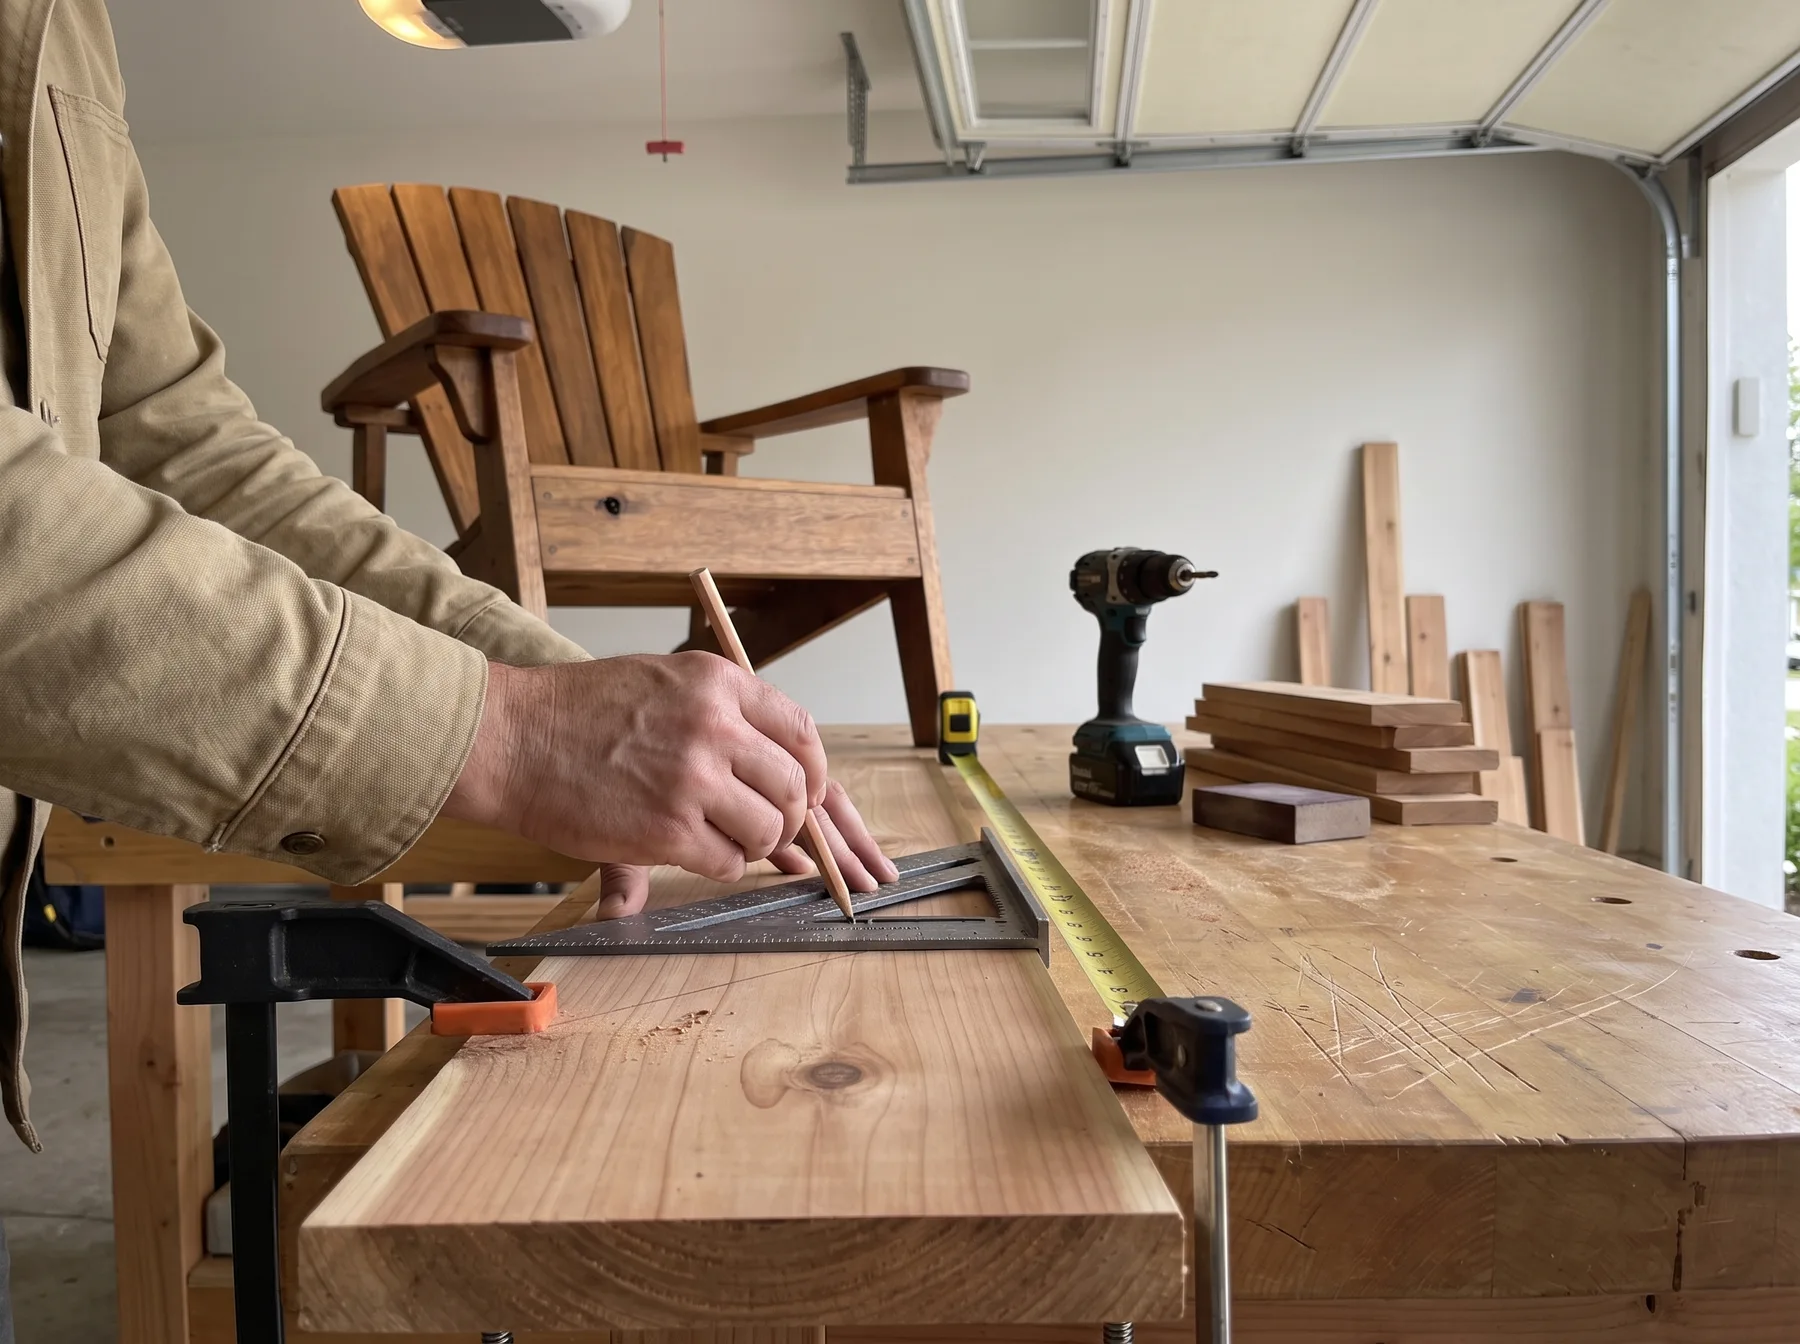
Typical tools for this project include a circular saw or miter saw, drill/driver, measuring tape, pencil, speed square, clamps, and a sander or sanding block. A jigsaw is recommended for rounding the front corners of the armrests.
Accurate layout makes repeated chair parts easier to keep consistent. A compact square such as this SWANSON 7-Inch Speed Square can help mark square and angled cuts and includes scribing notches. It may also serve as a saw guide where your cutting tool's instructions permit that use. Do not substitute a speed square for proper clamping or safe saw setup.
Measure every board against the PDF before cutting. A tape measure with clear fractional markings, such as the FastCap ProCarpenter 16-Foot Measuring Tape, can be useful when transferring the plan's inch-based dimensions to lumber. Its reverse-reading scale, erasable note area, and built-in pencil sharpener can be handy at the workbench, but the important habit is checking each measurement and part ID before making a cut.
The plan includes saw kerf guidance. This is useful because every saw cut removes a small amount of material. Following the supplied cutting layouts and kerf guidance helps you avoid coming up short on a final piece because earlier cuts were laid out too tightly.
What is included in the PDF plan
A good furniture plan should help you move from lumber selection to final assembly without forcing you to guess at the chair's proportions. This PDF includes:
- Step-by-step building instructions.
- Detailed finished-project dimensions.
- Front, side, and geometry diagrams.
- A complete cut list with part IDs.
- A shopping list and lumber cutting layouts.
- Saw kerf guidance.
- A hardware and fastener guide.
- Six-slat seat construction details.
- Seven-slat fan-back layout information.
- Armrest and brace installation guidance.
- Outdoor finishing guidance and a final build checklist.
These are useful inclusions for a beginner because the chair contains several connected elements: the four-leg base, braces, slatted seat, armrests, and angled fan back. A cut list alone does not explain how these parts come together. Conversely, assembly instructions are much easier to follow when every cut piece has a clear ID.
If those details match the way you prefer to build, you can view the digital PDF woodworking plan before deciding whether it fits your project list.
Plan your build area and finishing schedule
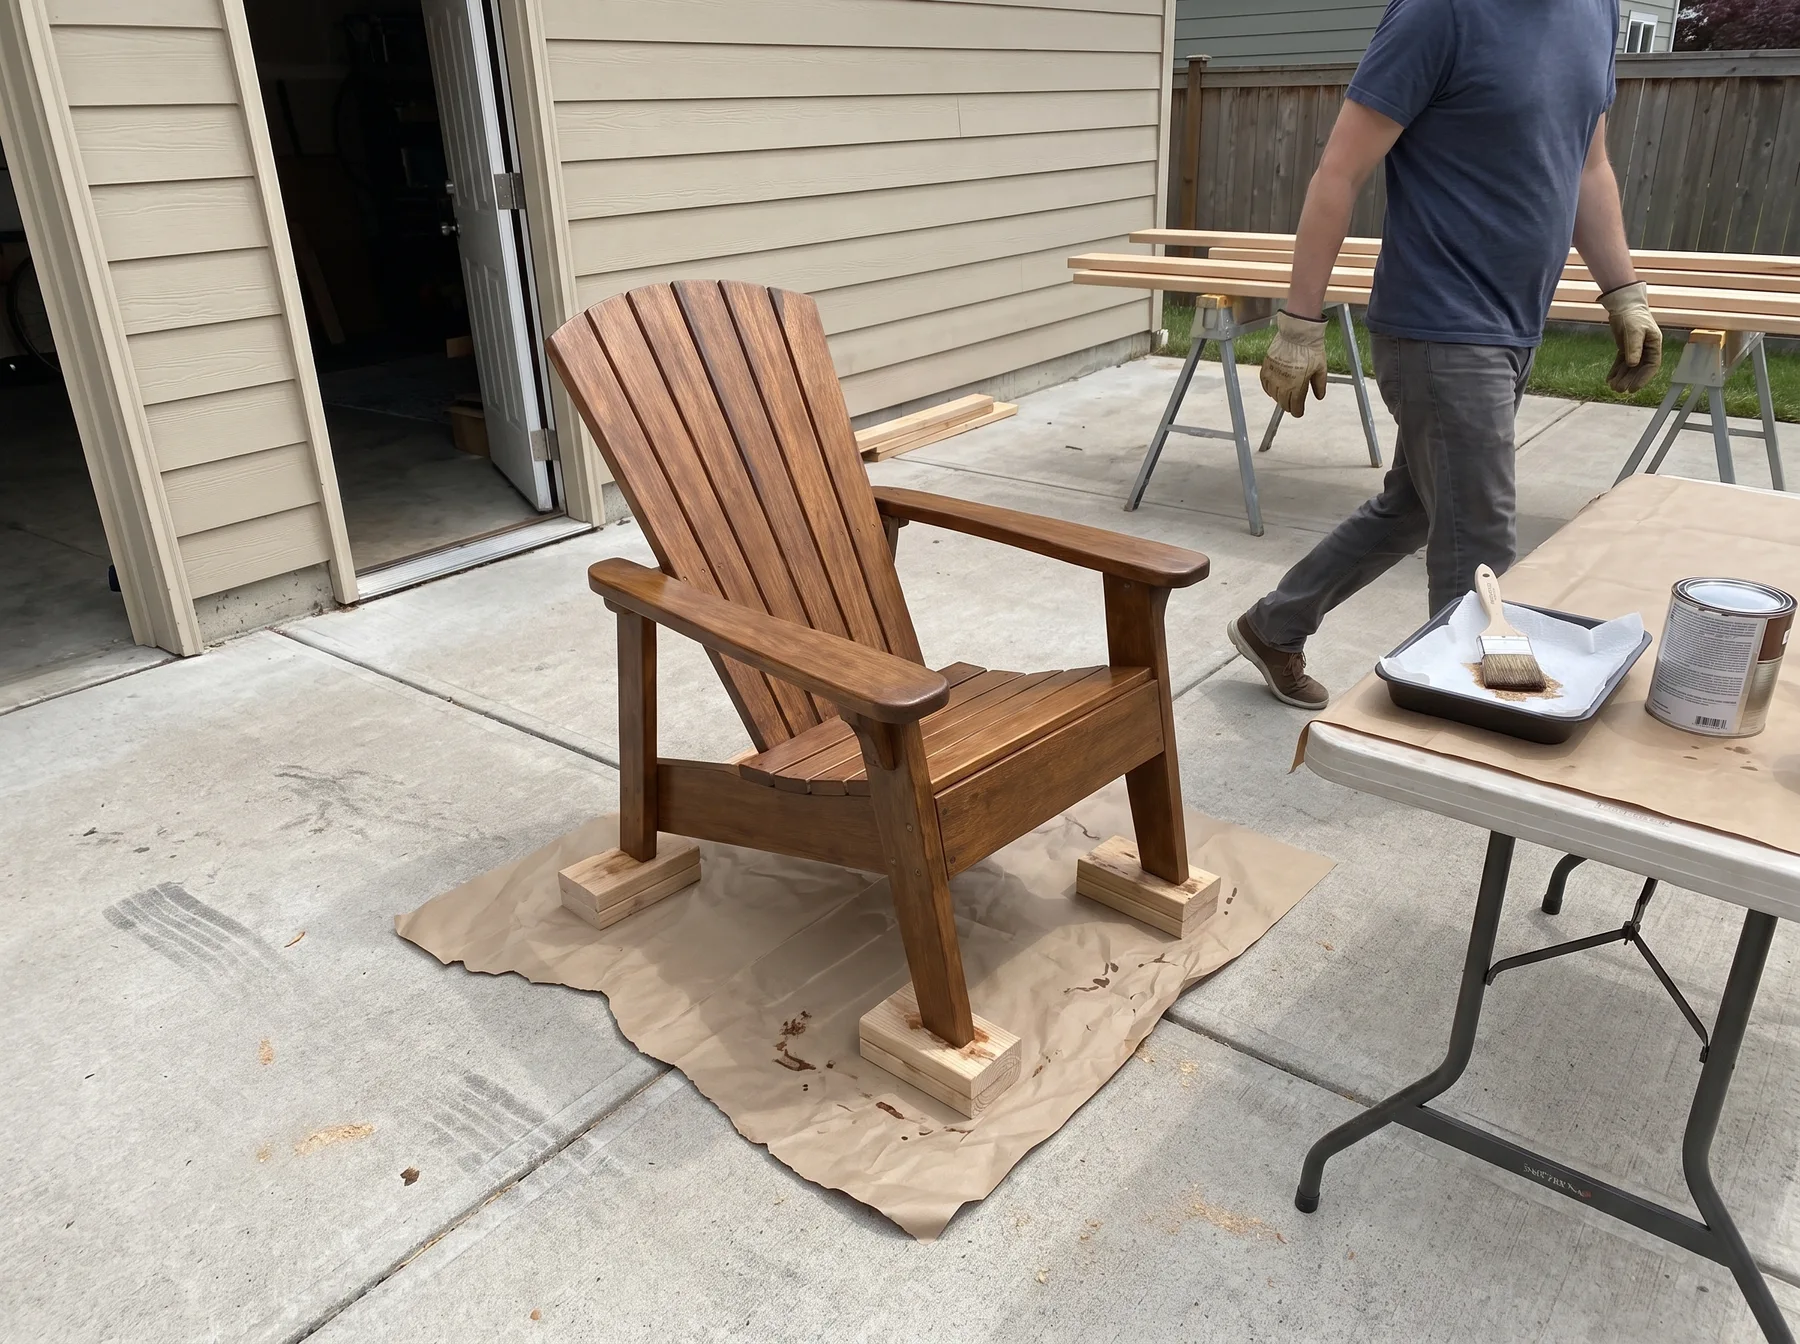
Build location matters as much as the chair's final location. You need a flat area for measuring, cutting, dry-fitting parts, and allowing the finish to dry. Keep lumber and the chair components off wet ground while you work. If you are working outdoors, choose a calm, dry period appropriate for the finish manufacturer's temperature and humidity guidance.
Do not block doors, stairs, sidewalks, ventilation equipment, or access to utility connections with lumber, tools, or the assembled chair. For a balcony or deck, consider the surface itself. Follow lease rules, HOA rules, and building requirements for outdoor furniture, staining, and any work that creates dust or noise.
This is also a project where patience improves the result. Dry-fit parts when the instructions call for it, keep the slats aligned, sand edges that will contact hands and legs, and inspect the chair periodically once it is in service. Outdoor wood furniture needs ongoing attention as sun, rain, and seasonal changes affect the finish.
A clear fit for a full-size outdoor seating project
The DIY 4-Leg Fan-Back Adirondack Chair Woodworking Plan is best for someone who wants a full-size, traditional-looking outdoor chair and appreciates a measured, structured build process. Its 33-inch width, reclined six-slat seat, wide armrests, and seven-slat fan back make it a practical single-chair project for a patio, porch, garden, or yard.
The PDF gives you the project dimensions, lumber requirements, cutting layouts, fastener guidance, diagrams, and assembly information needed to make an informed start. Because it is a digital plan for personal use, keep the file for your own project rather than sharing or reselling it, and do not commercially sell chairs made from the plan.
Join the conversation
0 comments
Leave a comment
Your email address will not be published. Comments are reviewed before appearing.