
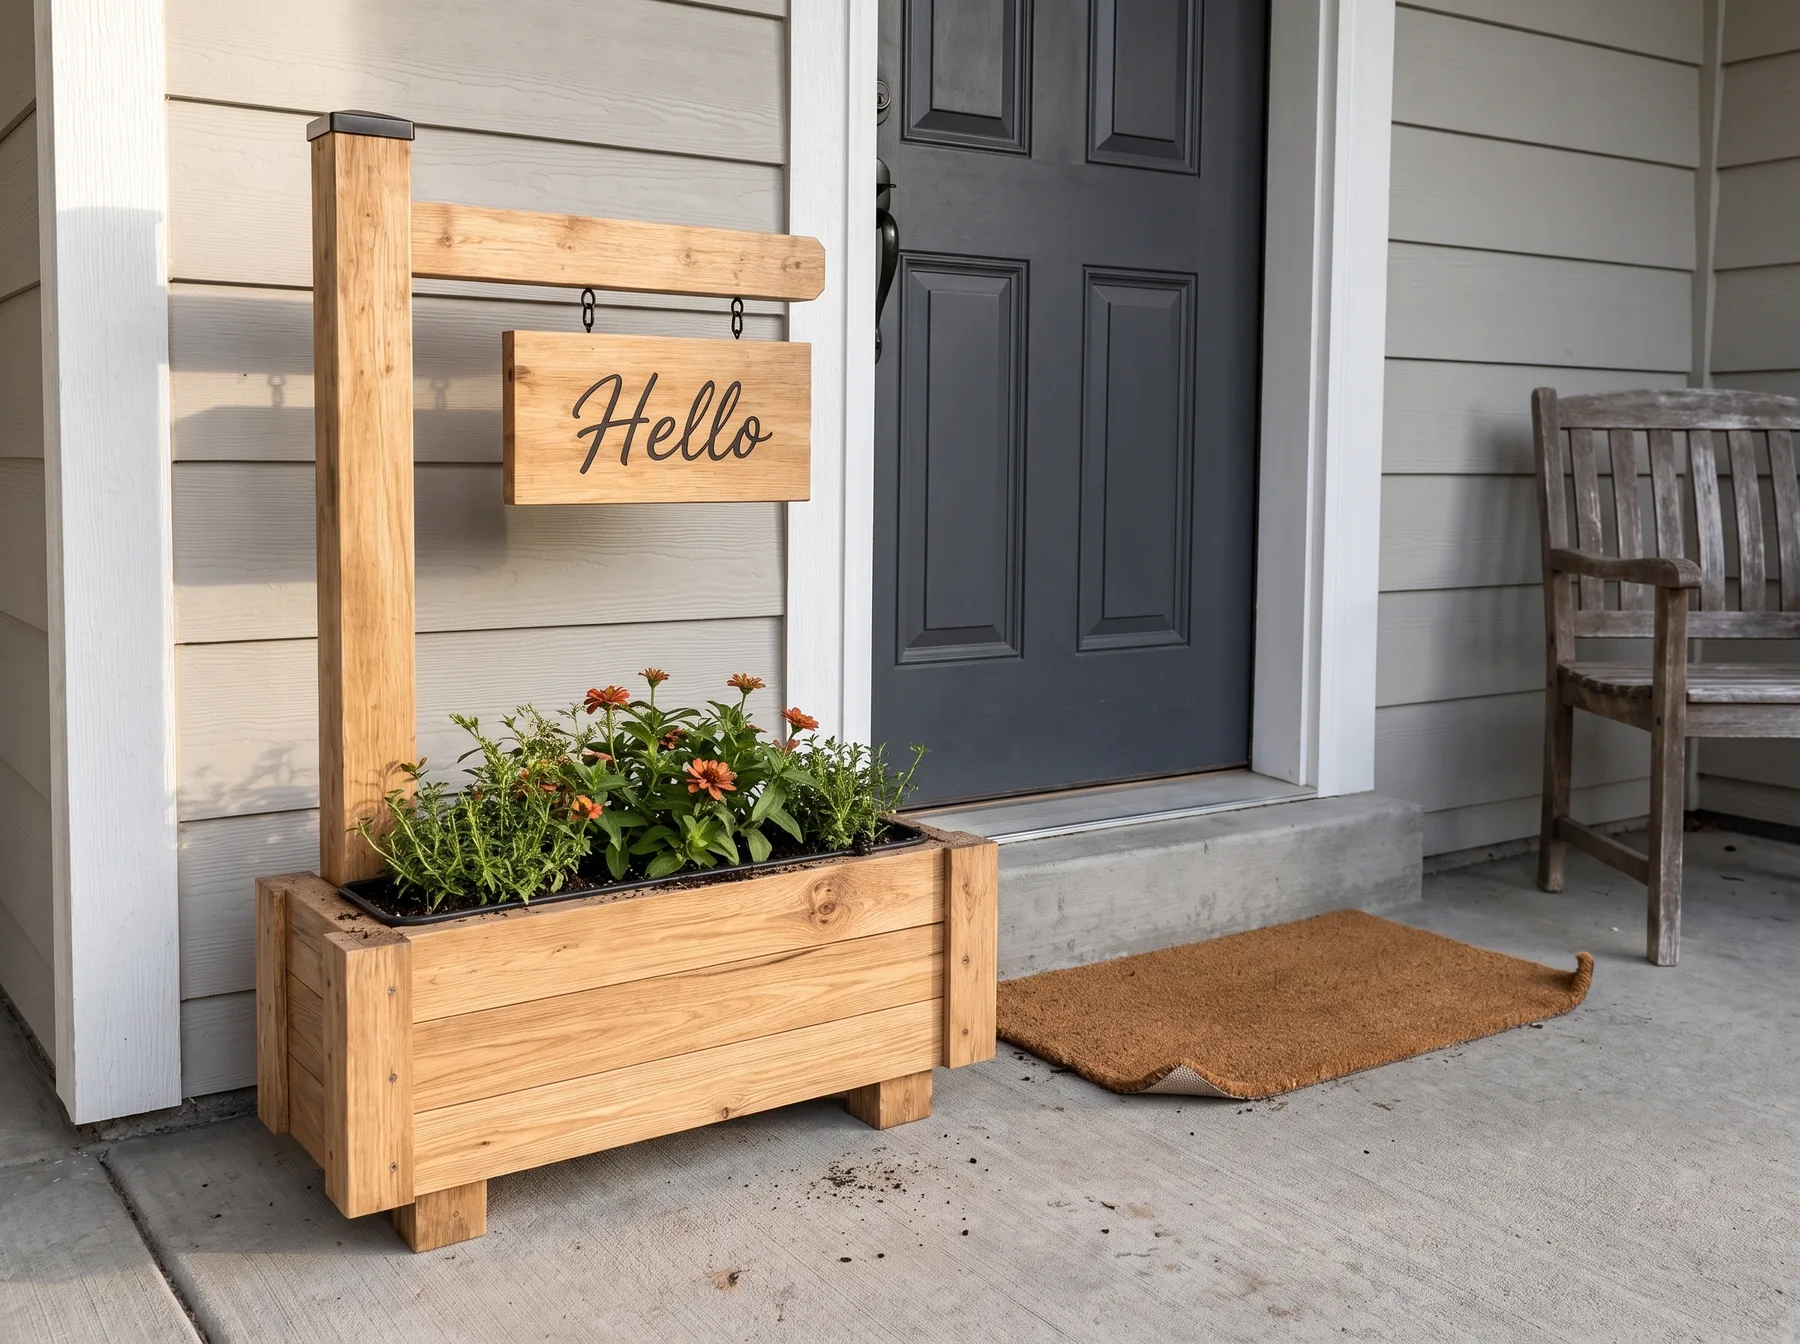
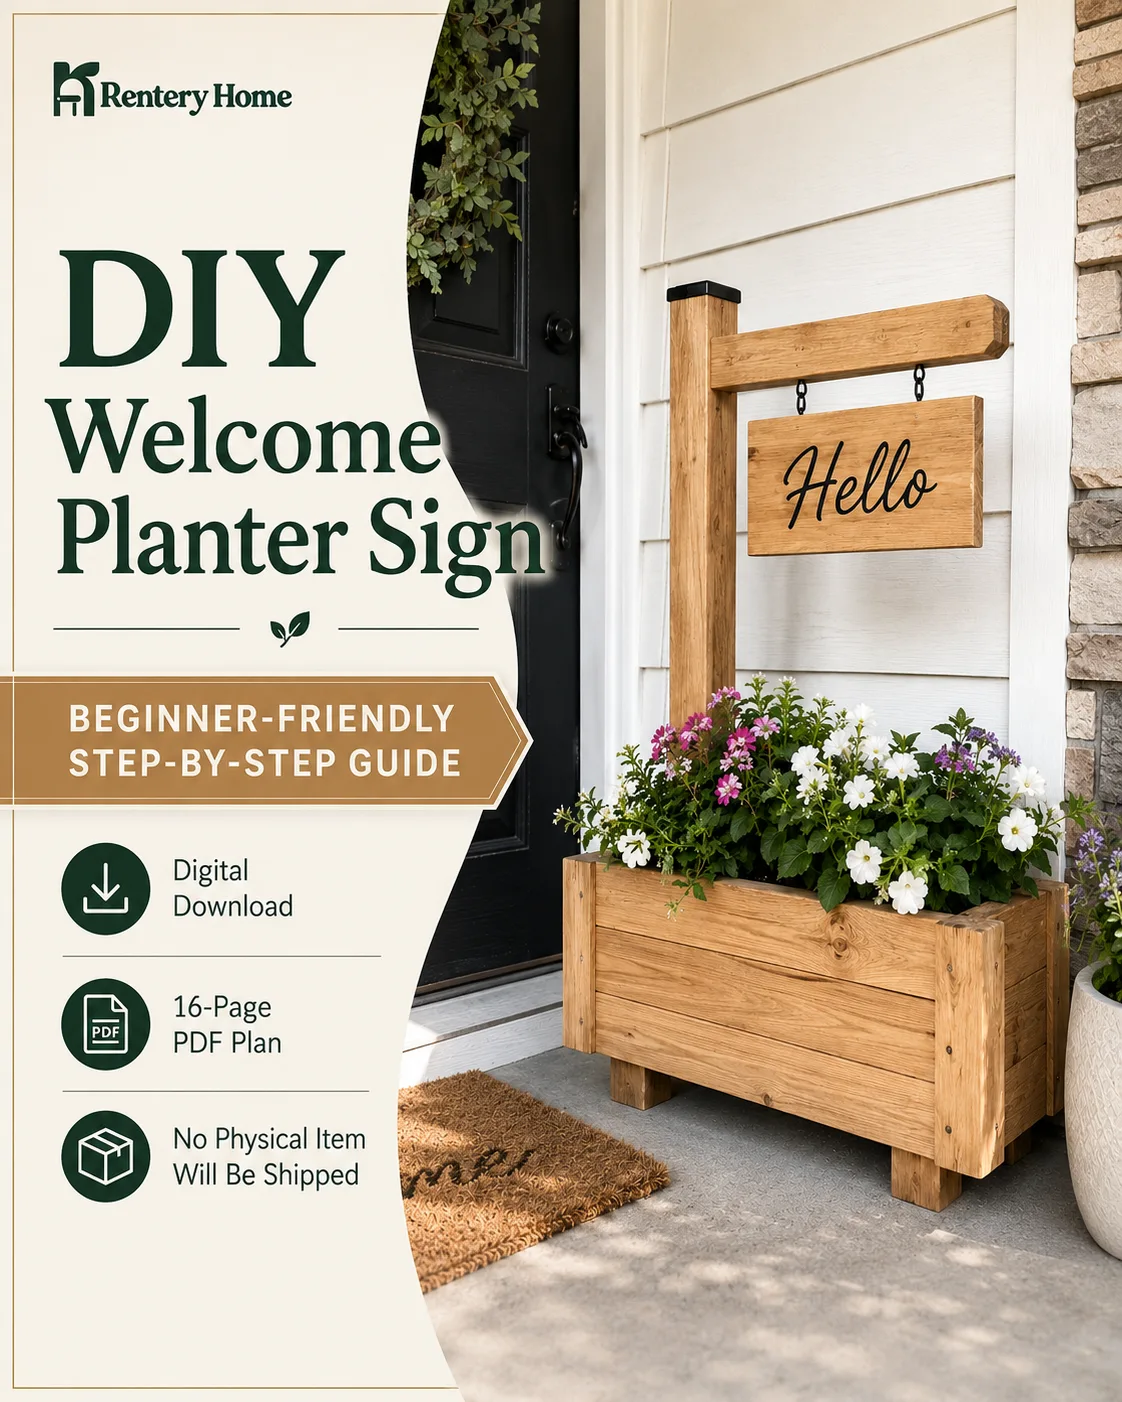
A welcome planter sign combines a working planter with a tall post, a horizontal arm, and a hanging sign you can personalize for the season or your household. It suits a porch, patio, or entryway that needs a clear focal point without adding a large piece of furniture.
The DIY Welcome Planter Sign Woodworking Plan from Rentery Home is a digital PDF plan for building this project yourself. The finished planter sign measures approximately 36 inches wide by 14 inches deep by 60 inches high, with an 18-by-9-inch hanging sign. It is designed as a beginner-friendly project using common U.S. lumber sizes, but it still needs careful measuring, cutting, fastening, and an outdoor-ready finish.
This is a project overview, not a replacement for the full build instructions. The PDF includes the verified dimensions, cut list, cutting layouts, hardware guidance, and step-by-step assembly sequence needed for the build.
Who this porch planter sign suits
This project is a practical choice if you want a freestanding outdoor decoration that can hold flowers, greenery, or seasonal stems while displaying a greeting, family name, house number, or simple seasonal message.
Its 14-inch depth is worth considering before you build. Measure the usable portion of your porch or entry, including the door swing and normal walking path. A decorative planter should not narrow an exit, block a step, cover a utility access point, or make it harder to bring in groceries.
The plan can be a good fit for a newer woodworker who has access to a circular saw or miter saw, drill/driver, measuring tape, square, clamps, and a sander or sanding block. The listed build estimate is approximately 4 to 6 hours. Allow additional time for shopping, sanding, paint or stain, and the drying or curing time required by the finish and adhesive labels.
It may not be the right first project if you do not have a safe place to cut lumber or use a drill. In that case, consider arranging a workshop, asking a lumberyard about available cutting services, or choosing a smaller project first.
What the finished project includes
The design has four main visual elements:
- A rectangular wooden planter base.
- An integrated tall sign post.
- A horizontal sign arm.
- A hanging, customizable wooden sign.
That layout gives you two places to add color and personality. The planter can change with the seasons, while the hanging sign can carry a message that stays up longer or changes for holidays and occasions.
A removable planter liner is included in the plan's main materials list. Using a liner helps separate soil and plant moisture from the wooden planter box. Choose a liner that fits without forcing the planter sides outward, and make sure any watering routine does not leave standing water against the wood.
Materials and tools to plan for
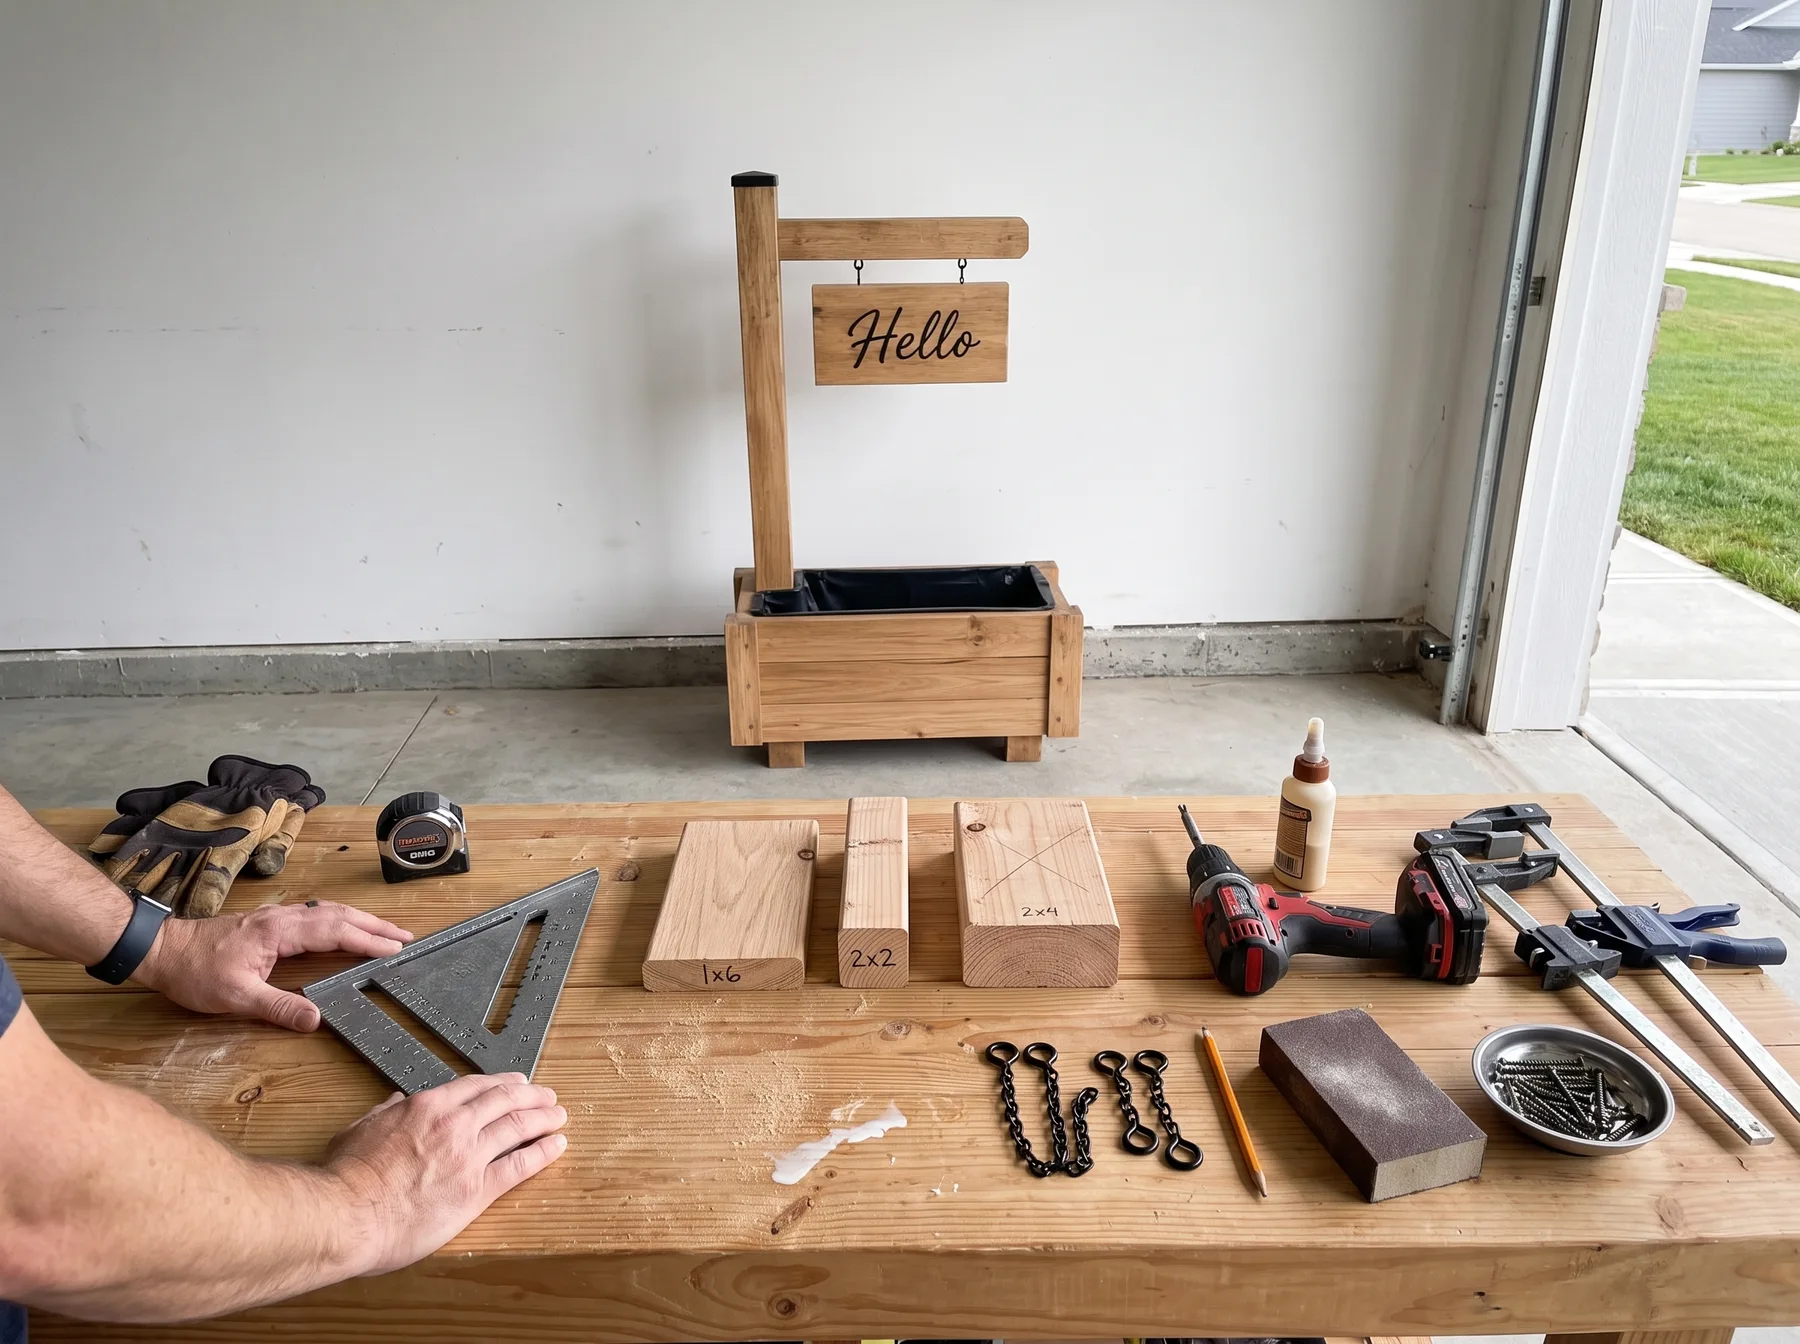
The project uses 1x6, 2x2, and 2x4 lumber, along with exterior-rated screws, structural screws, screw eyes, short decorative chains, exterior wood glue, and an outdoor wood finish or stain. The PDF provides the complete shopping list, full cut list, and cutting layouts, so use it as the source for quantities and hardware details rather than estimating from project photos.
A circular saw or miter saw handles the cuts, while a drill/driver and drill bits are needed for fasteners and hardware. A speed square helps keep layout marks accurate, and clamps make it easier to hold parts in position during assembly. Sanding edges before finishing can make the sign and planter more comfortable to handle and help prepare the surface for paint or stain.
Where the plan specifies an exterior wood adhesive, Titebond III Ultimate Wood Glue is listed for interior and exterior woodworking. Follow its label directions for suitable temperatures, clamping, cleanup before curing, and full cure time. Glue supports the specified assembly, but it is not a substitute for screws or structural joints called for in the plan.
The hanging sign uses screw eyes and short decorative chains. If you are choosing hardware separately, these black 304 stainless steel screw-eye hooks with locking latches are listed for outdoor use and include a driver bit. Confirm the eye size, the wood thickness, and the required working load before using any screw eye. Predrill wood where appropriate, and do not rely on included wall anchors for an unverified surface.
Decide where it will live before selecting a finish
The same planter sign can face very different weather conditions depending on its location. A covered porch may limit direct rain and sun, while an exposed stoop can receive repeated wetting, wind, and intense afternoon light. Choose an outdoor wood finish or stain suited to the conditions, and follow the finish manufacturer’s surface preparation, application, and recoat instructions.
Paint offers strong color options for the sign arm and hanging sign. Stain lets the lumber grain show through and can be easier to coordinate with existing porch furniture or trim. Either approach needs attention to end grain, edges, joints, and the inside surfaces near the planter liner, where moisture is more likely to collect.
Avoid treating the planter as maintenance-free outdoor furniture. Check it periodically for peeling finish, loose hardware, and soil or water sitting against the wood. Refreshing the finish when needed is a normal part of keeping an outdoor wood project looking its best.
Simple ways to customize the hanging sign
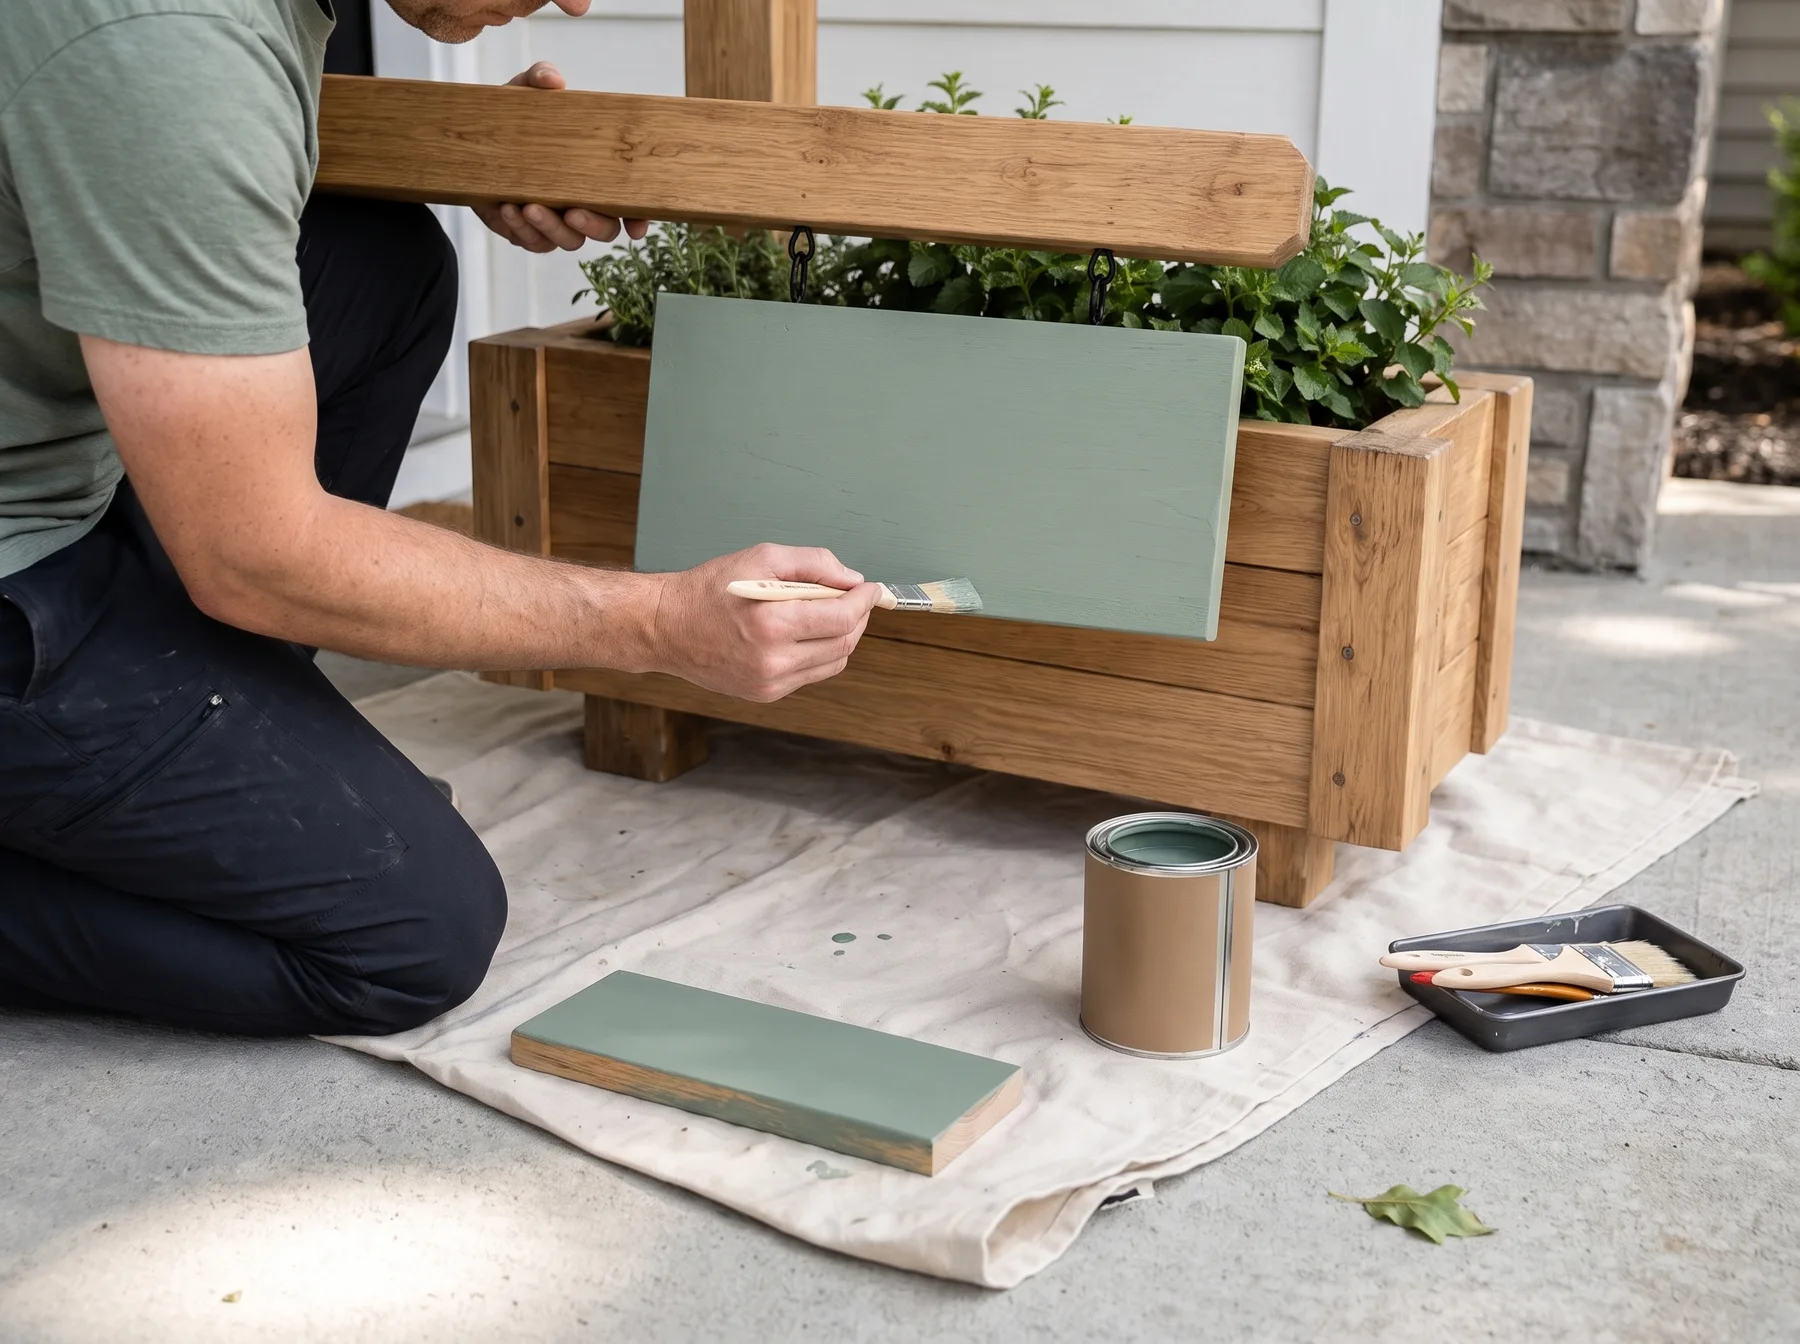
The 18-by-9-inch hanging sign gives you room for a readable message without overwhelming the overall structure. Keep lettering large enough to read from the sidewalk or driveway, especially if the planter will sit back from the curb.
A few practical customization options include:
- Paint or stain the sign in a contrasting color from the planter.
- Add lettering with a stencil, vinyl letters, or a hand-painted design.
- Use a simple greeting such as “Welcome,” then update the planter contents through the year.
- Switch the hanging sign for seasonal wording if you want the structure to stay in place year-round.
- Coordinate flowers, faux stems, or greenery with the finish instead of repainting the whole project each season.
Consider weather exposure when choosing lettering. Adhesive vinyl, paint, and other decorative materials can age differently outdoors. Test your chosen method on a scrap piece of finished wood if possible, and follow the lettering material manufacturer’s application guidance.
What comes with the Rentery Home PDF plan
The Rentery Home plan is a 16-page digital PDF, not a physical planter, lumber kit, hardware bundle, or finished item. It includes:
- Verified project dimensions in inches.
- A complete cut list and shopping list.
- Cutting layouts.
- A materials and tools guide.
- Hardware and fastener guidance.
- Step-by-step assembly instructions.
- Outdoor finishing guidance.
- A final build checklist.
Those details are particularly useful for a tall, freestanding project. The cutting layouts can help you plan lumber before making cuts, and the final checklist provides a last review before you move the planter sign to its outdoor location.
If the dimensions, style, and tool list fit your space and comfort level, you can view the complete DIY Welcome Planter Sign Woodworking Plan PDF on Rentery Home. The plan is for personal, non-commercial use only. Do not share, redistribute, repackage, or resell the PDF, and do not sell finished items made from the plan.
A sensible setup for a welcoming entry
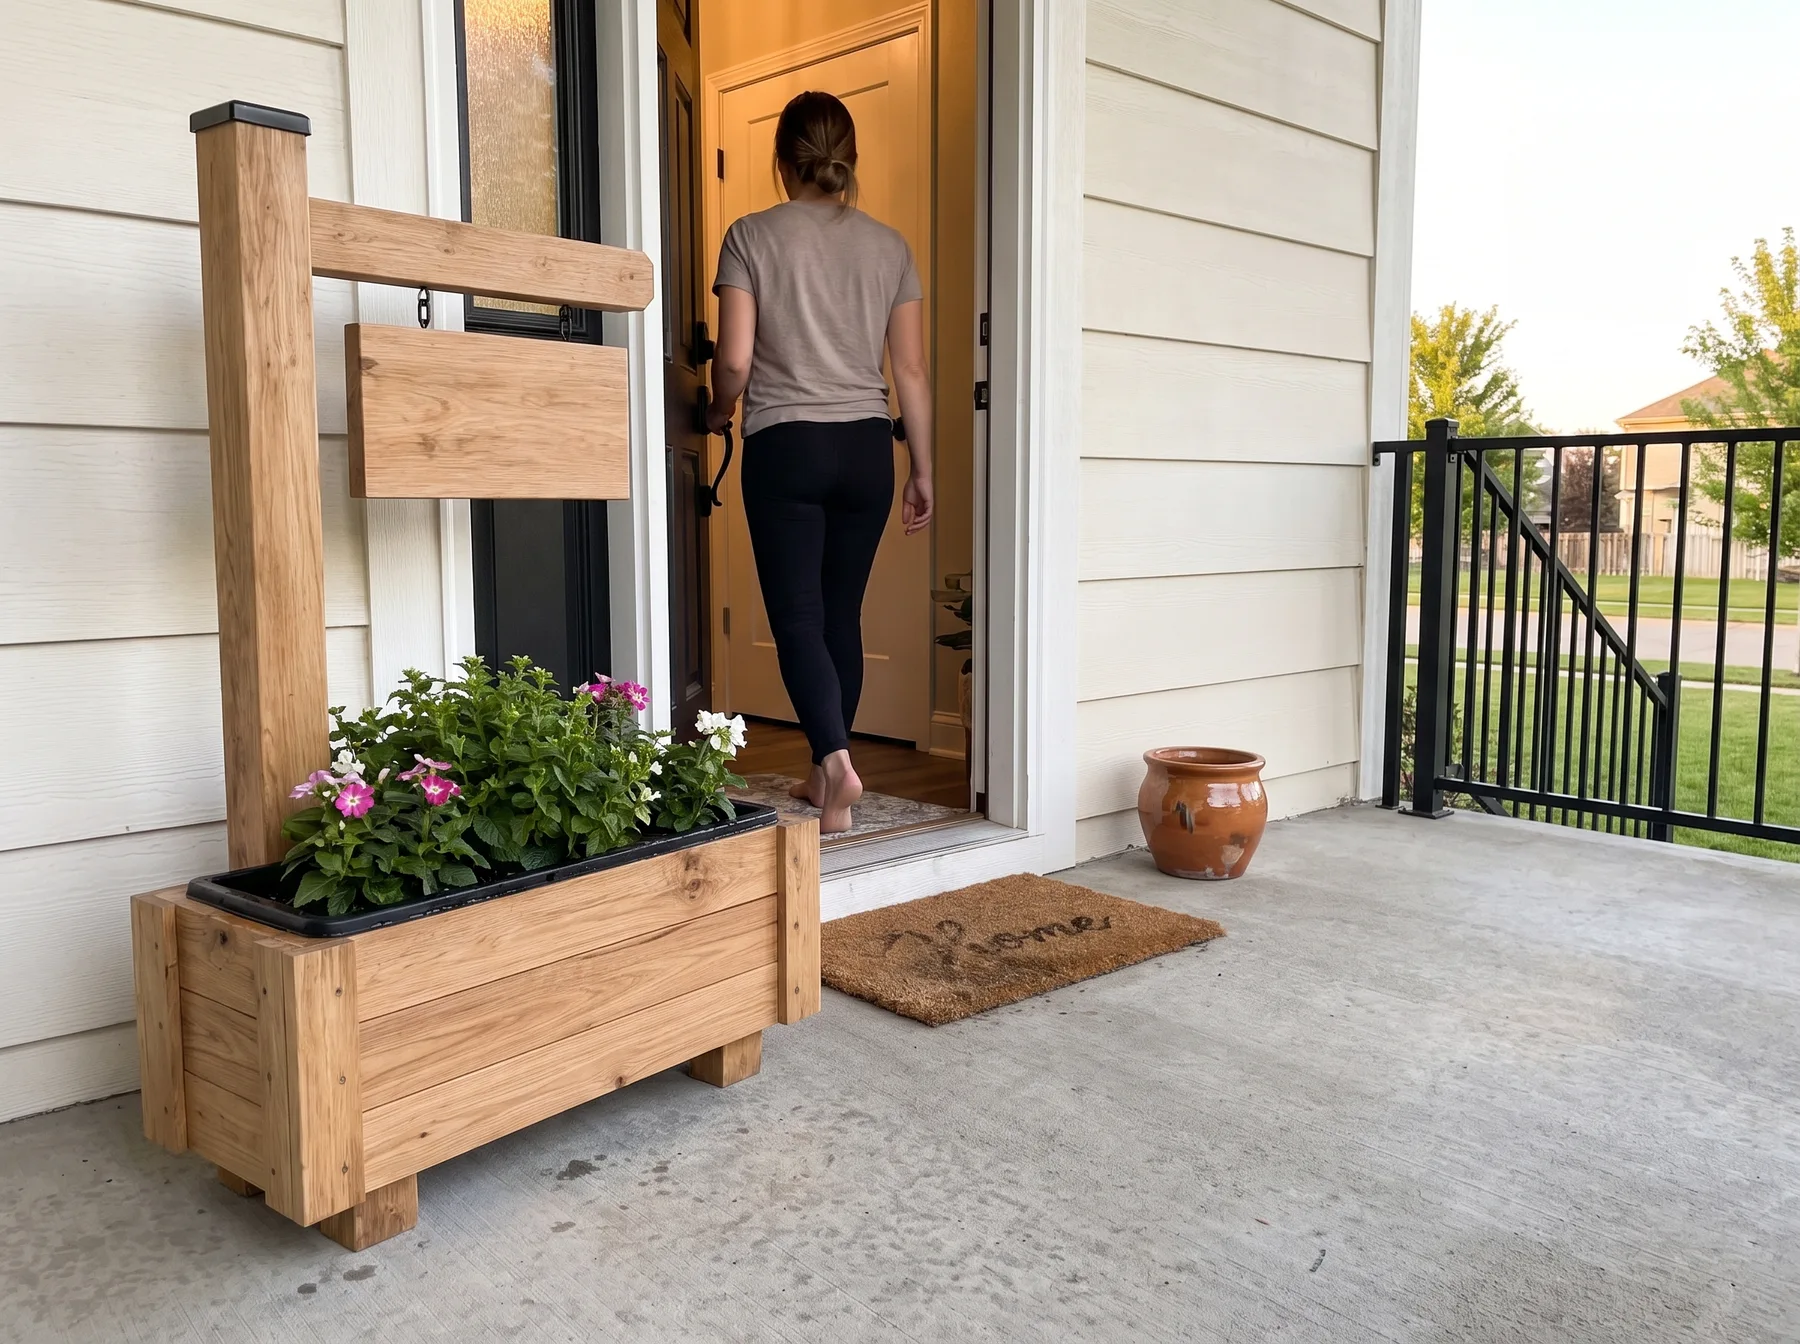
Place the finished planter on a level, stable surface with enough clearance for the door and foot traffic. Fill the liner with a planting arrangement that suits the available sun and your willingness to water and maintain it. A simple mix of greenery and one or two flowering plants often keeps the arrangement from competing with the sign itself.
The result is most effective when it feels intentional rather than crowded. Let the planter sign be the main decorative piece near the door, then keep nearby doormats, chairs, and seasonal decor scaled to the space around it.
Join the conversation
0 comments
Leave a comment
Your email address will not be published. Comments are reviewed before appearing.