
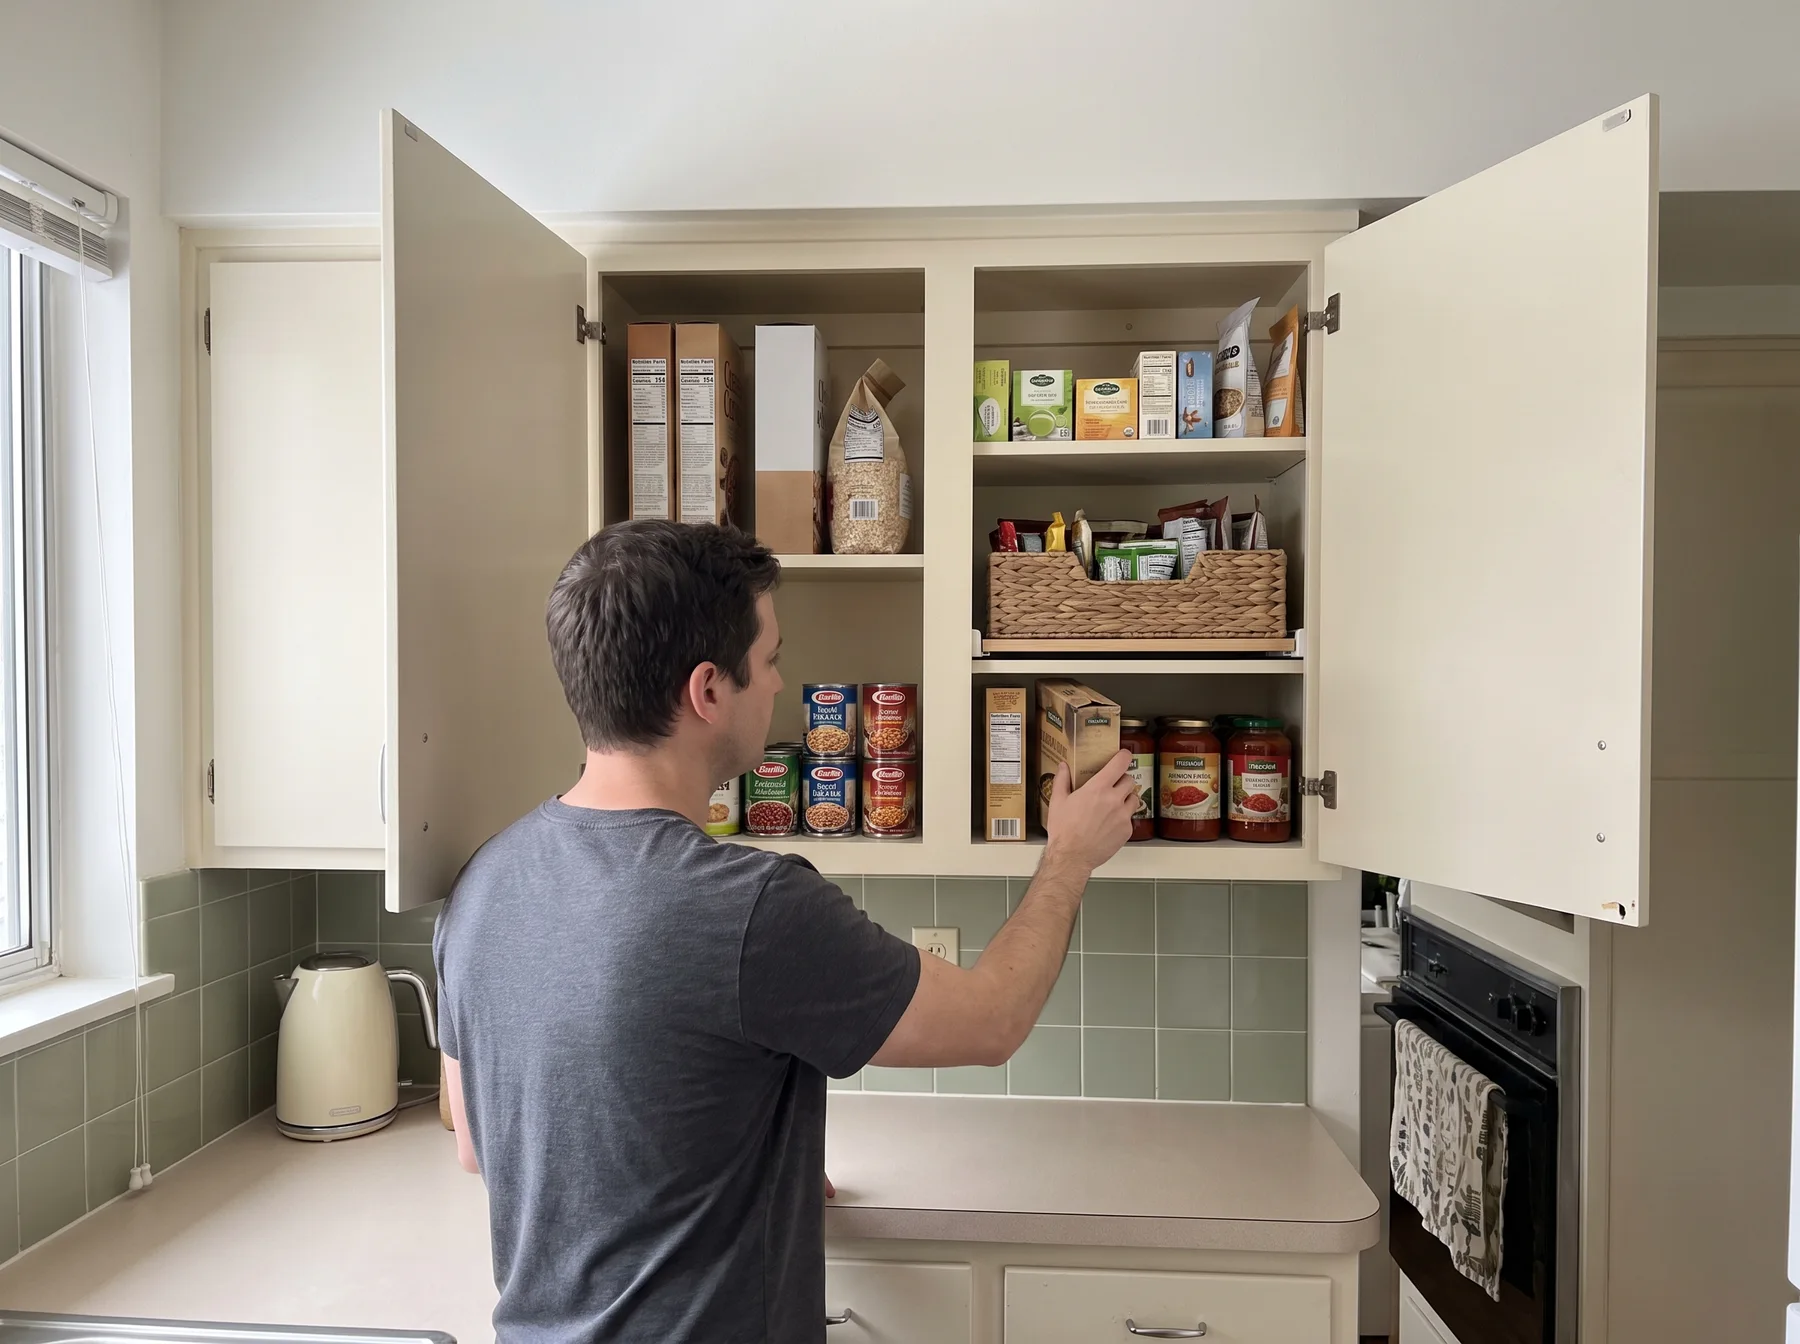
One cabinet pantry organization works best when the goal is simple: make the food you own easy to see, reach, and use. A single cabinet cannot hold a warehouse-sized backup supply, and it does not need matching jars to function well. Most foods are easier to identify and use in their original packaging, especially when that package includes cooking directions, allergen details, expiration information, or storage instructions.
Instead of trying to make one cabinet look like a larger pantry, give every category a defined amount of space. Keep everyday foods in the easiest spots to reach, contain loose packets only where they cause clutter, and use a brief reset after grocery shopping to keep older food from disappearing behind new purchases.
Start with the cabinet's actual limits
Before buying bins or moving food around, measure the usable interior. Note the width and depth of each shelf, the clearance between shelves, and whether the cabinet door has racks or hinges that reduce space. A tall cereal box, for example, may fit at the back but prevent the door from closing.
Also identify the cabinet's non-negotiables. These are the foods and supplies that need to live there because they are used often or have no safer home elsewhere. Common examples include:
- Breakfast staples and lunch ingredients
- Dry goods for regular dinners
- Snacks for packed lunches or quick meals
- Baking ingredients used often enough to keep
- Tea, coffee, or drink mixes if there is no separate beverage station
This step prevents a common small-pantry problem: organizing every item beautifully, then realizing the cabinet no longer holds the food your household uses each week.
Empty the cabinet once and sort food into practical groups
Take everything out so you can see duplicates, expired items, nearly empty boxes, and foods that are no longer part of your routine. Check dates and package condition, then discard food that is spoiled, damaged, or past its usable date according to the package guidance.
Sort what remains into five working groups. The groups do not need to be perfectly separate. Their purpose is to make decisions about shelf space easier.
Daily staples
This includes foods you reach for most days, such as oats, cereal, rice, pasta, canned beans, peanut butter, or cooking oils, depending on your kitchen setup. These items earn the most accessible shelf space.
Meal ingredients
Group the ingredients that support ordinary meals but are not used every day. This may include canned tomatoes, broth, tortillas, noodles, jarred sauces, and grains. Keep similar items together so you can take inventory before planning meals.
Snacks
Snacks tend to create visual clutter because they come in small bags, boxes, and multipacks. Keep the category contained rather than scattering snack packages across several shelves.
Baking
Flour, sugar, baking soda, chocolate chips, sprinkles, and similar ingredients can share a zone. If you bake rarely, this group may need only a small section of a higher or lower shelf.
Extras
Extras are the foods that do not belong in the first four groups: specialty ingredients, seasonal baking supplies, backup tea, single-use drink mixes, and occasional treats. This is the category most likely to expand beyond the cabinet's limits, so give it a firm boundary.
Give each group a container boundary, not unlimited space
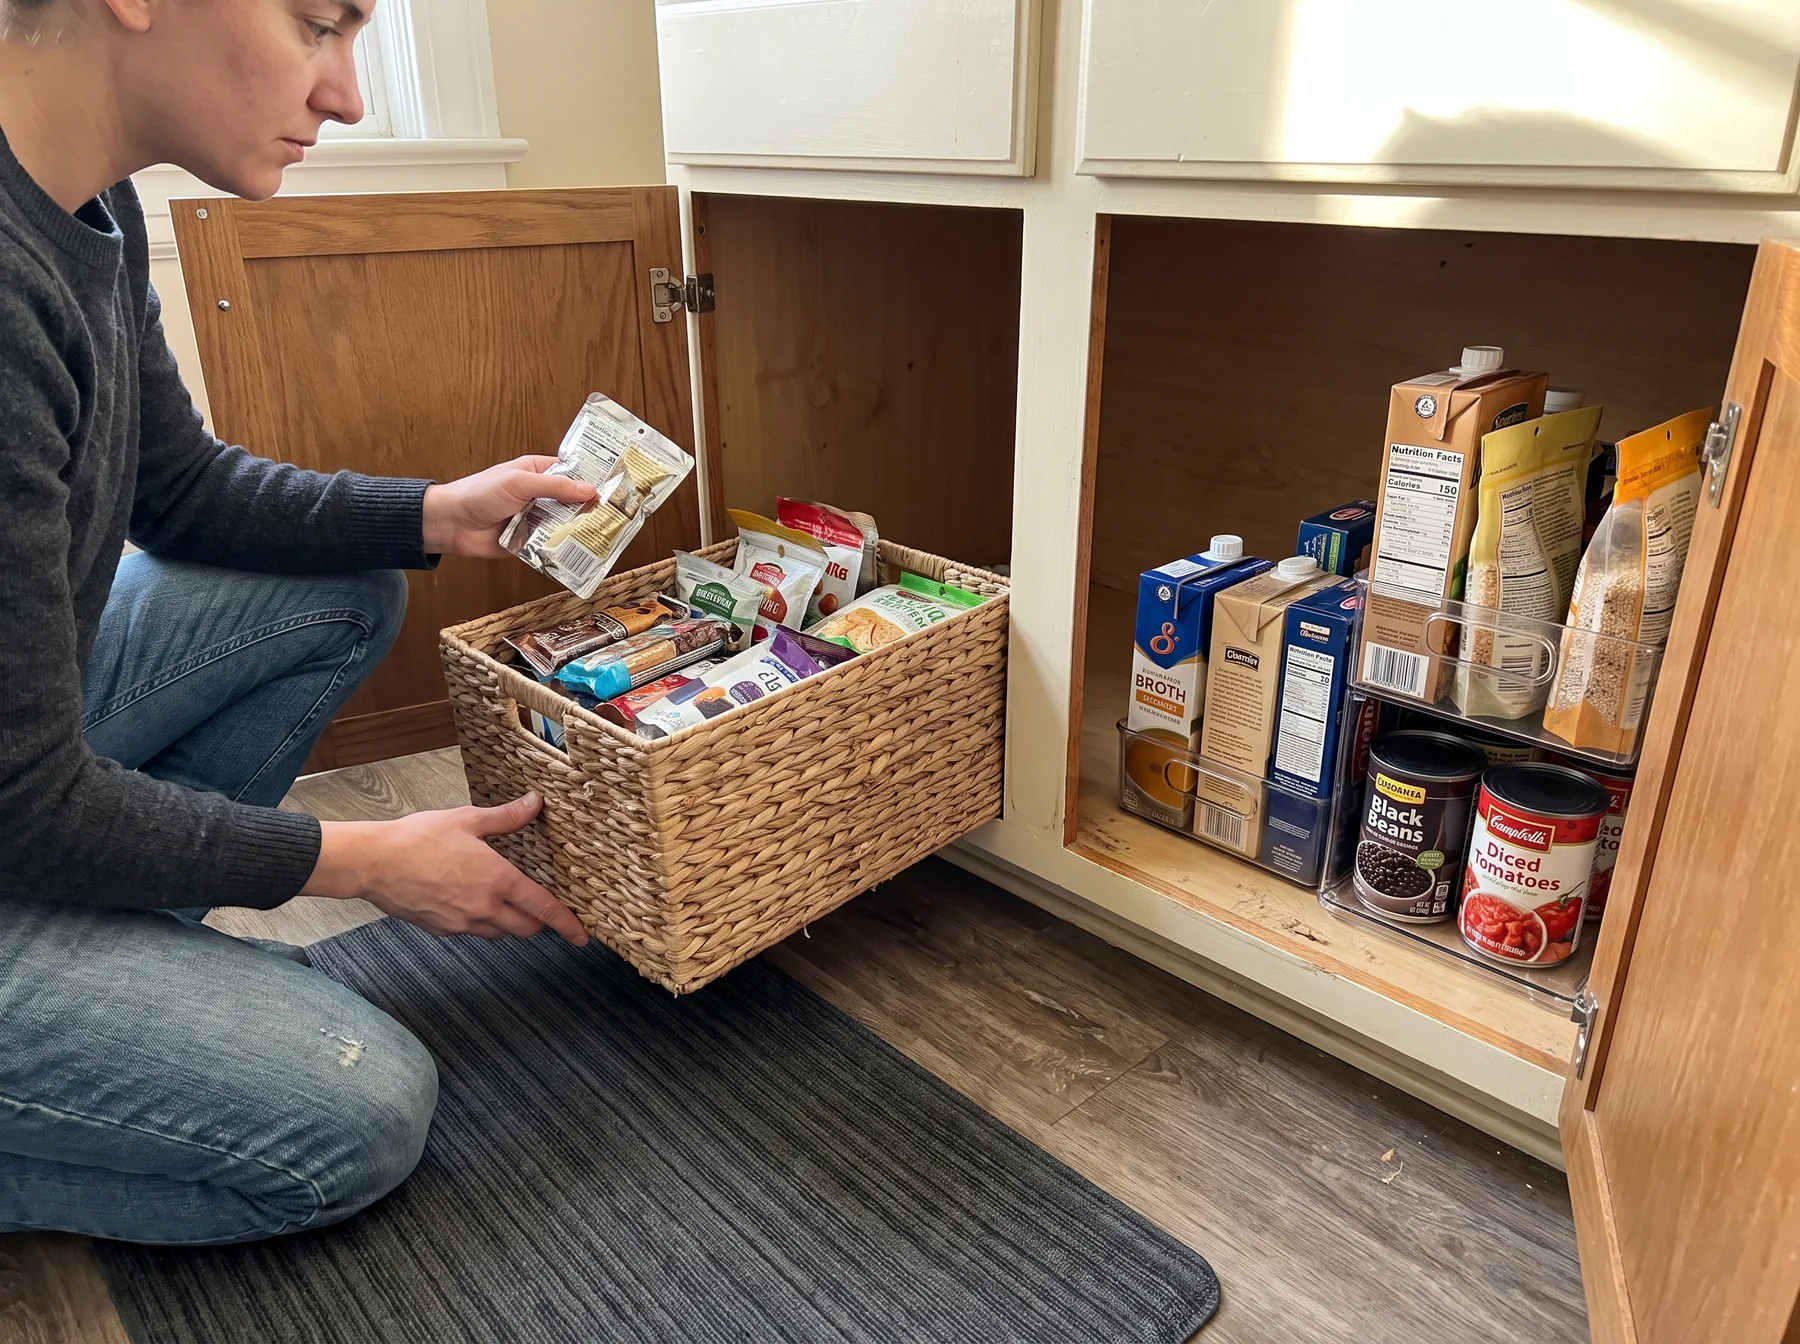
A one-cabinet pantry stays manageable when every category has a visible edge. That edge may be a bin, a basket, a shelf section, or even a simple line created by placing items side by side. The important part is that the category cannot quietly spread into space needed by other food.
For example, reserve one shallow bin for snack bars and small pouches. If the bin is full, use up what is there before buying more. Give baking ingredients one portion of a shelf. If a bulk bag of flour takes over that area, decide whether it belongs elsewhere or whether another backup item needs to wait until there is room.
This is more useful than trying to solve every crowded cabinet with more containers. Bins make loose packages easier to pull forward, but they do not create additional shelf capacity. In a small home, the same principle helps in other storage areas too: define what a space can hold before it becomes an overflow zone. This approach is also useful when you need to store towels without a linen closet in a small apartment, where a set shelf or basket limit can prevent backups from taking over daily storage.
Arrange pantry zones by reach and weight
Use the shelves you have rather than forcing a standard pantry layout. The most useful zone is usually the shelf between waist and eye level. Put daily staples and the foods you want to use up first there.
A practical one-cabinet layout often looks like this:
- Easy-to-reach shelf: daily staples, open packages, and foods used for regular meals.
- Lower shelf: heavier cans, jars, bags of rice, and other dense items that are safer to lift from below.
- Upper shelf: lighter extras, infrequently used baking supplies, unopened backup boxes, and seasonal items.
Within each shelf, place food that needs to be used sooner near the front. Keep like items together, but do not create so many narrow categories that putting groceries away becomes difficult. “Pasta and grains” may be a more workable section than separate areas for every pasta shape and grain type.
If your cabinet has deep shelves, put taller or less-used items toward the back. Place short packages in front only when they do not hide what is behind them. A shallow pull-out bin can help with small packets, but a deep opaque bin can make food harder to find.
Use visibility tools only where they fix a specific problem
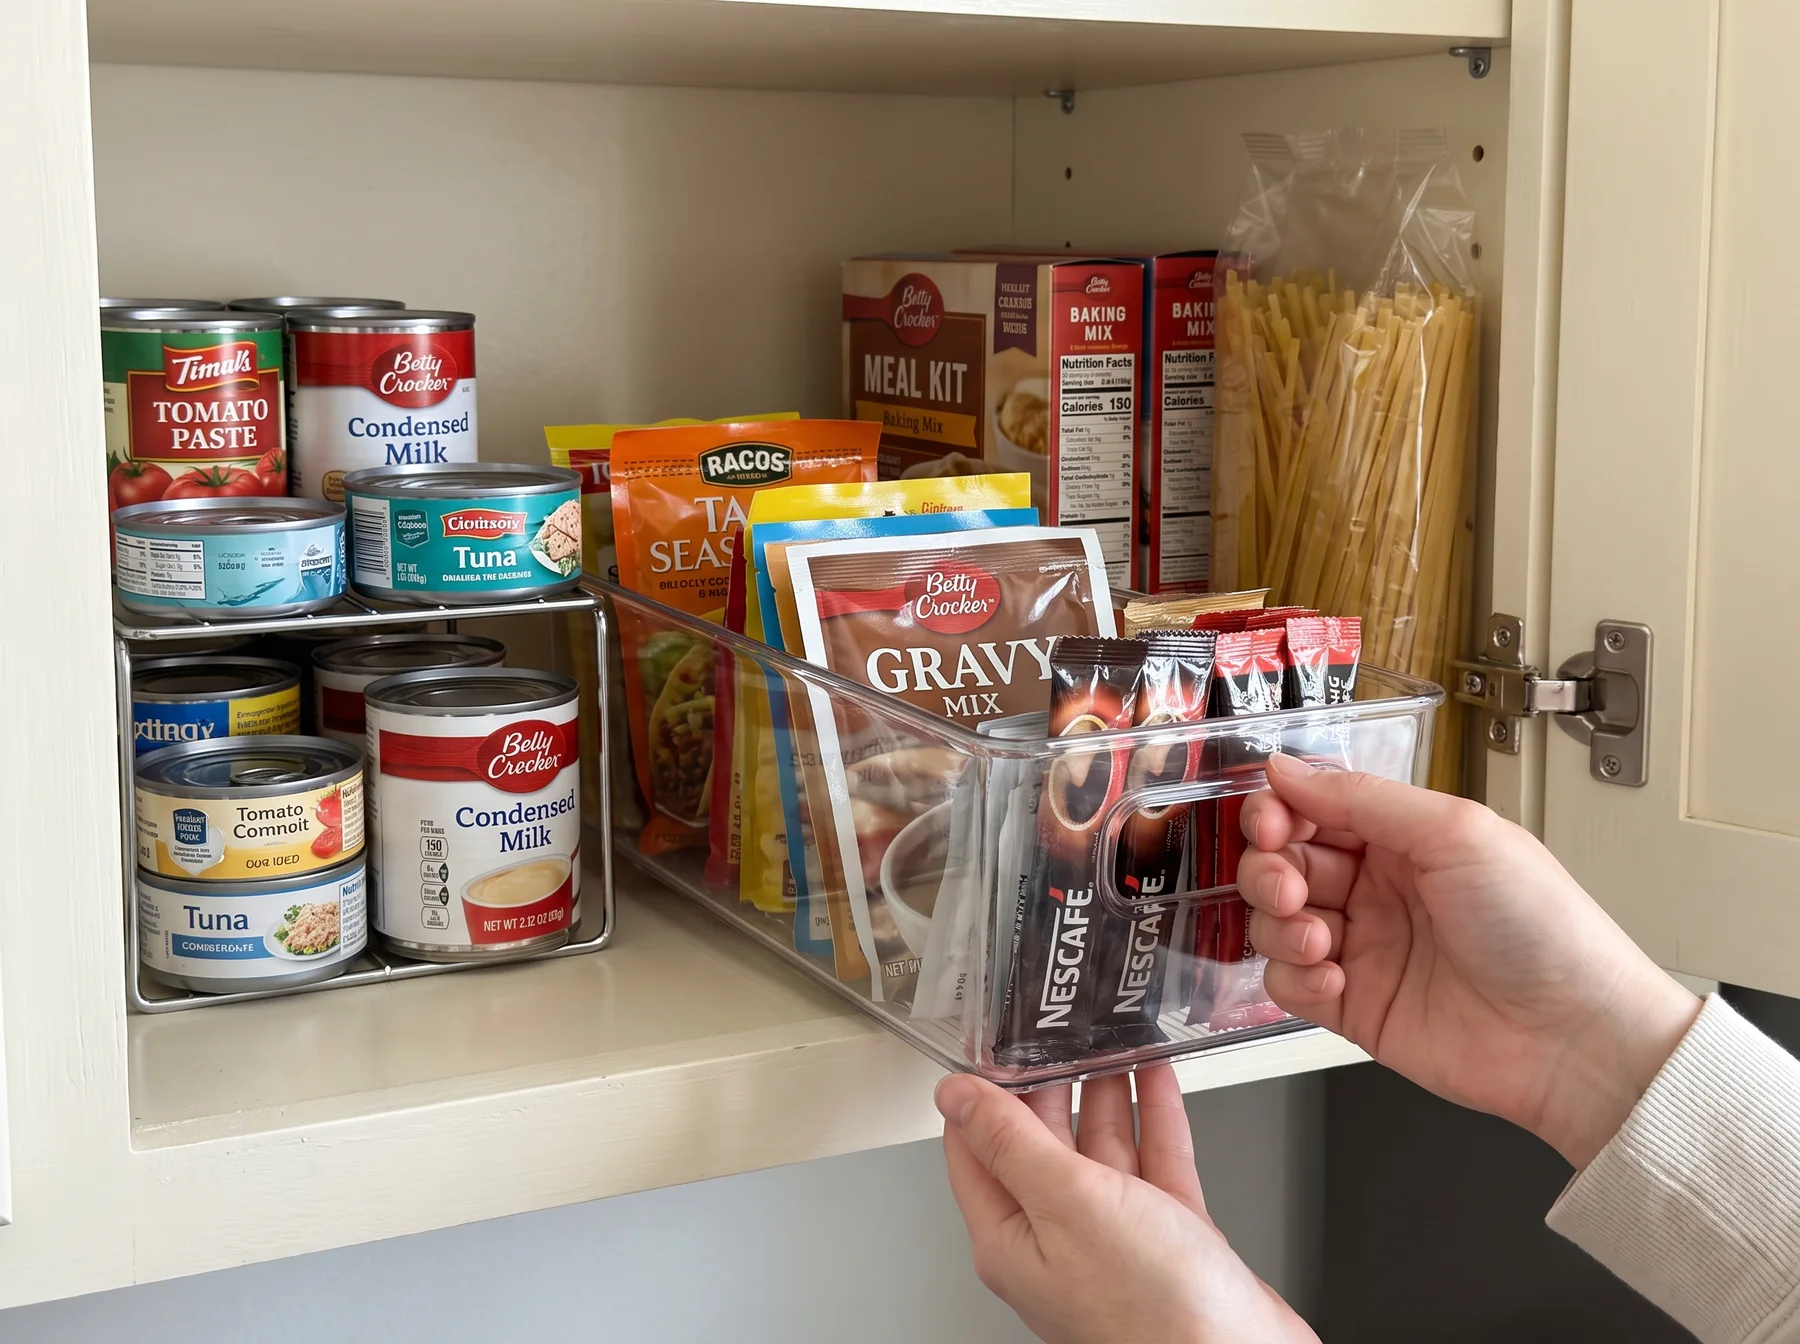
You do not need a full matching set of pantry organizers. Choose a few tools based on what is actually hard to see or contain.
Shallow bins for small, loose packages
Use a shallow bin for snack pouches, seasoning packets, gravy mixes, or drink packets. A bin lets you pull the whole category forward instead of digging through a pile. Choose one that fits the shelf depth with enough room to lift it out easily.
A riser for short cans or jars
A small riser can improve sightlines when cans or jars are stacked two rows deep. It is most helpful on a shelf with enough vertical clearance for the riser and the tallest item behind it. Skip it if it makes packages harder to remove or wastes precious height.
Zone labels, not labels for every item
Label a bin or shelf area “snacks,” “baking,” or “meal ingredients.” Zone labels make it easier for everyone in the household to put food back in the right place. Individual labels on every package usually add work without improving daily use.
Keep original packaging when it does useful work
Decanting is optional, not a requirement for an organized pantry. Original packaging often provides exactly the information you need at mealtime: preparation directions, ingredients, allergen statements, expiration dates, and storage guidance. Boxes and bags also make it easier to recognize what you need when building a grocery list.
Decant only when a food genuinely becomes difficult to store or use in its package. Good candidates include a large bag that will not stand upright, small packets that constantly fall over, or dry staples that spill easily after opening. If you transfer food to a container, keep the original label or write the food name and relevant date information on the container.
Clear containers can be useful for a few frequently used dry goods, but they need a realistic place to live. A container that is too tall, too wide, or difficult to pour from is not an upgrade just because it looks tidier.
Set a backup rule before bulk purchases crowd the cabinet
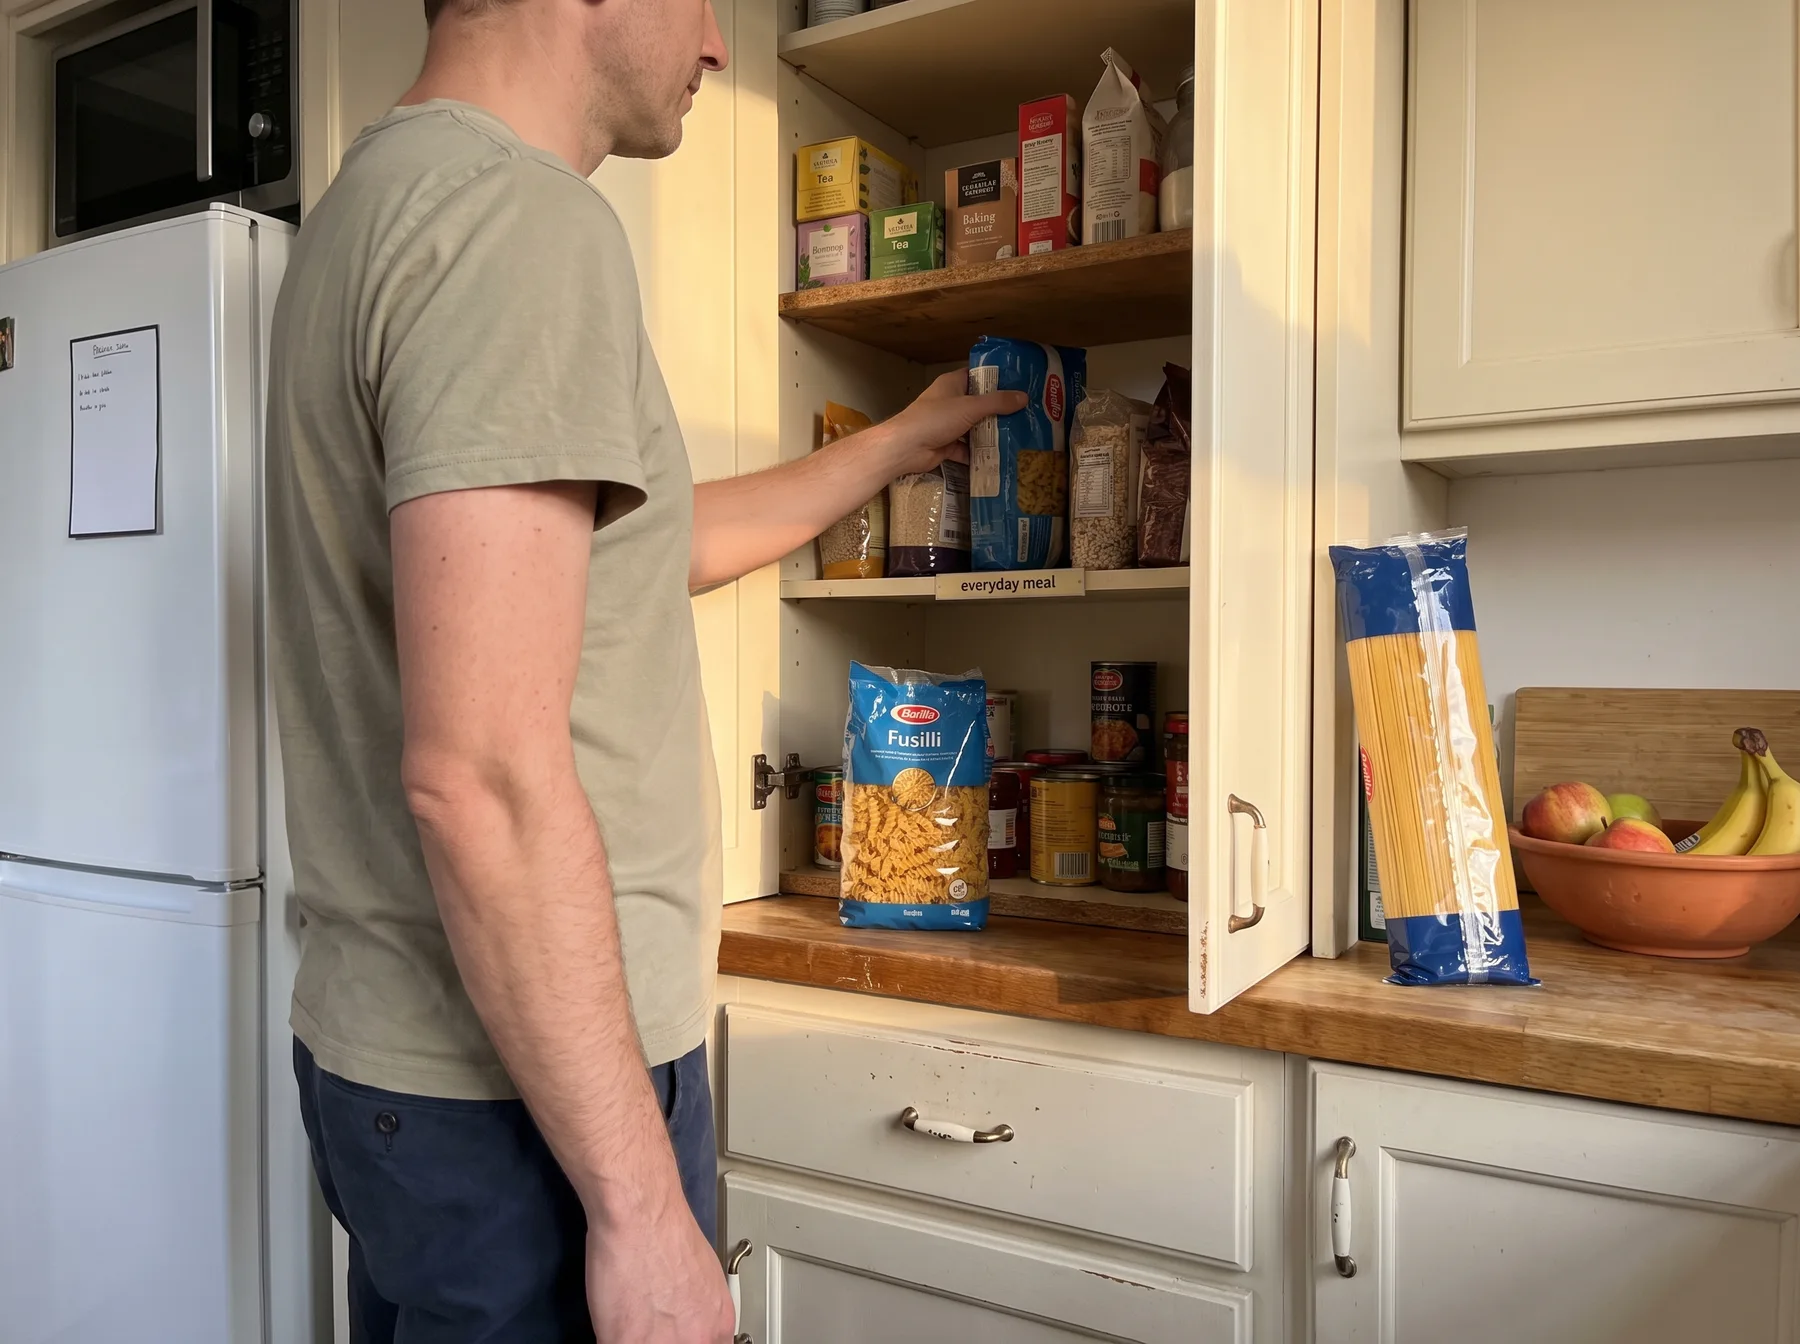
Bulk shopping can save trips, but one cabinet needs limits. Decide how many backups each category can hold. For many households, that may mean one unopened replacement for a frequently used item and no backups for foods that are occasional purchases.
Make the rule fit your cooking habits. If you use pasta every week, a backup package may be sensible. If you bought a specialty sauce for one recipe, wait until it is used before buying another. The cabinet should support the way you cook now, not store every possibility.
If you regularly run out of essentials, keep a short grocery list on the refrigerator or in your phone. That is more reliable than buying multiple extras you cannot see.
Do a five-minute grocery reset
The easiest way to maintain a one-cabinet pantry is to reset it when groceries come home. It takes less effort than a large cleanout later.
- Put new packages behind older versions of the same food.
- Move older food forward where you will notice it.
- Check whether you already own an open or unopened duplicate.
- Break down multipacks only if the individual packages fit their assigned zone better.
- Remove empty boxes and recycle packaging that no longer helps contain the food.
This first-in-first-out placement is particularly helpful for canned goods, pasta, cereal, snack boxes, and baking ingredients. You do not need a complicated rotation system. You just need to avoid placing new food in front of food that was already there.
A quick check before shopping helps, too. Open the cabinet, look at the front of each zone, and add only what is running low. When the cabinet is easy to scan, meal planning and grocery shopping become simpler because the food you have is visible enough to use.
Join the conversation
0 comments
Leave a comment
Your email address will not be published. Comments are reviewed before appearing.